I’m no makeup expert and rarely apply anything beyond foundation & mascara to my face. The reason I choose not to wear much makeup is 1) my face will break out and 2) I never want to look like someone I wouldn’t recognize. Needless to say my beauty routine is very simple, concerning most of my focus with my skincare and limited focus on what else to cake on or around my eyes. But that being said, I’ve become obsessed with finding a lip color that appears natural yet emphasizes my skin tone – not to mention I’ve been feeling very “plain jane” in the lip department and figured the application could help me look more like the 24-year-old that I am, rather than the 18-year-old I’m confused as being by most people.
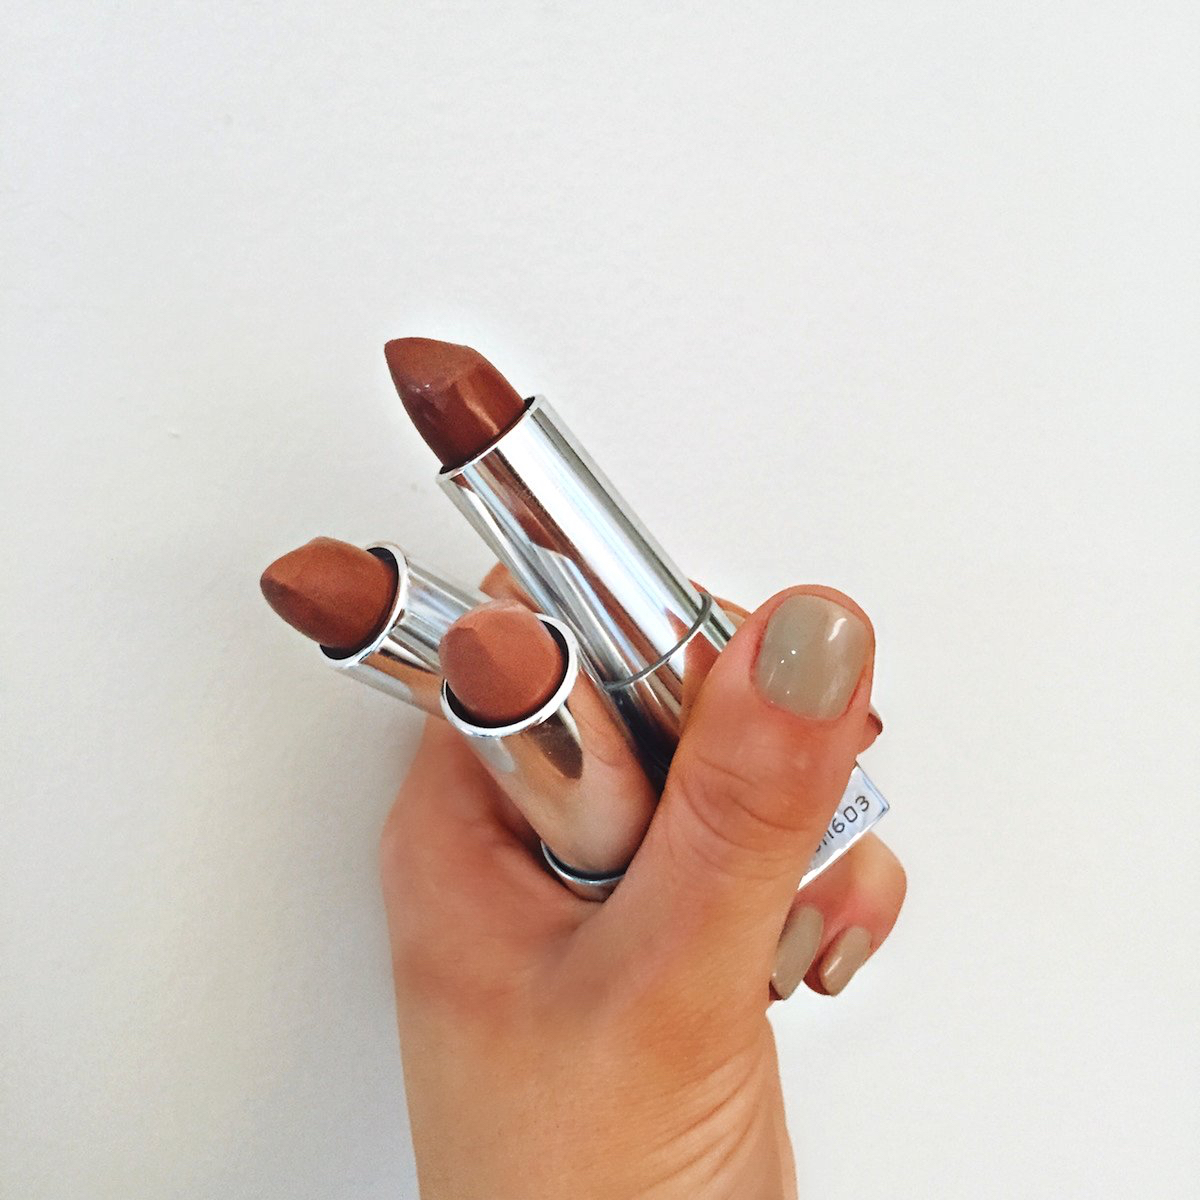
To get the most natural of lip shades, that does in fact indicate I’m wearing a color, came with a lot of trial and error but I ultimately came down to an easy 3-step process to get that Earthy nude just right. Mixing three of Maybelline’s lipsticks I purchased at Duane Reade (Walgreens/CVS too), here’s how you can get a deeper color that stays neutral and works at all hours of the day for that “sophisticated yet casual, while appearing put-together look.”
STEP 1) PRIME BEFORE YOU SHINE
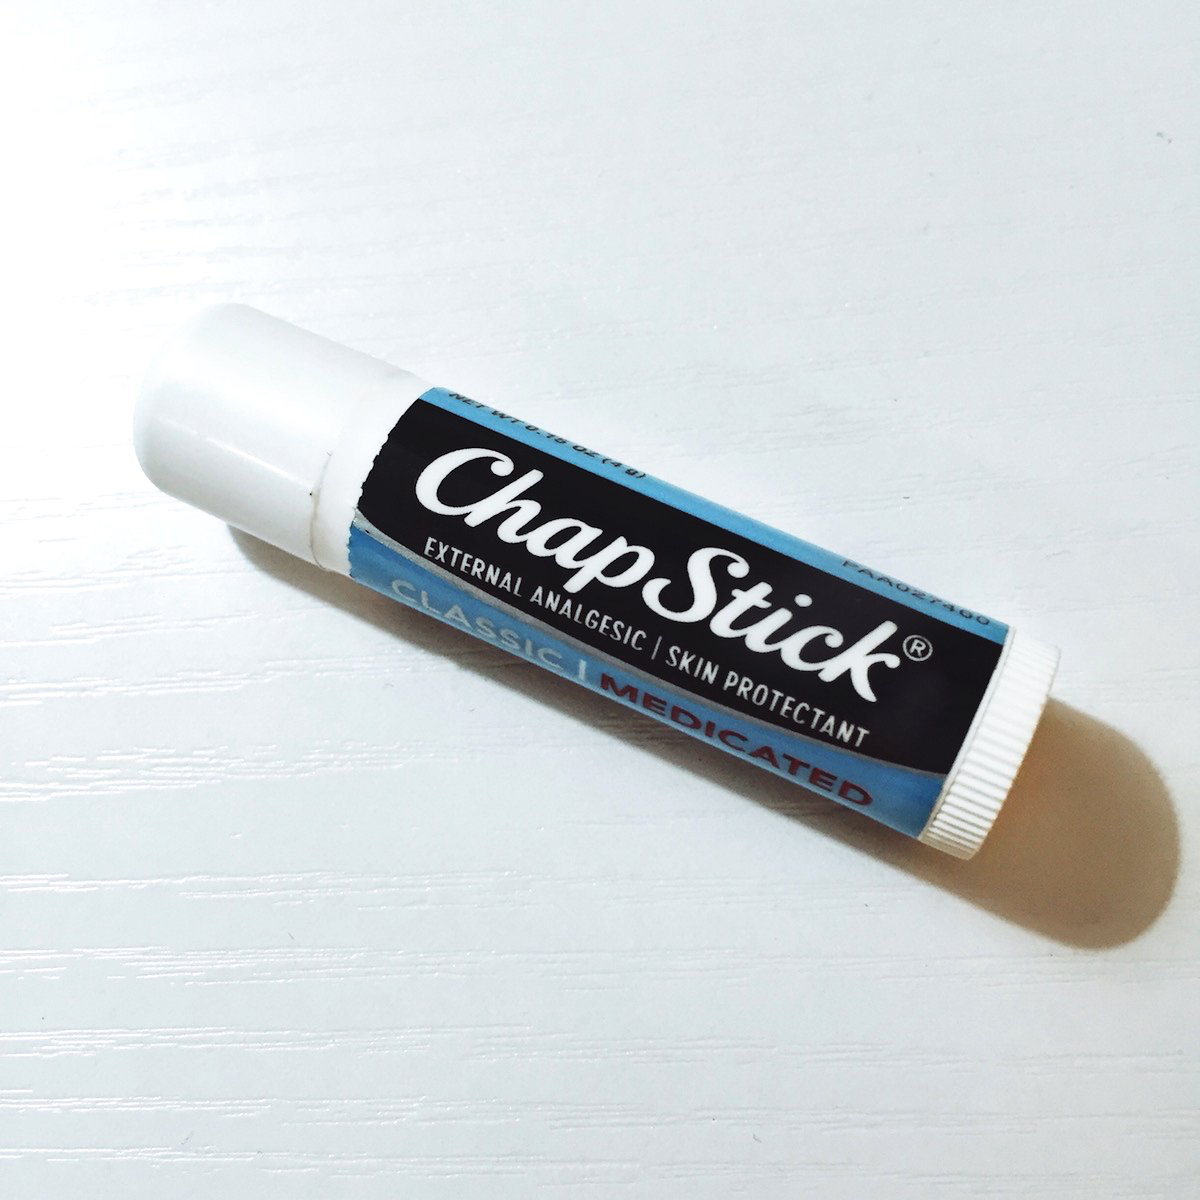
I always prime my lips with a medicated chapstick prior to apply any lip color. This helps to hydrate the lips, as lipsticks can often dry them out and lead to cracks when removing. I’ve also found chapstick to help bind the color so it lasts longer and rarely needs re-application.
STEP 2) PICK CLOSE COLOR SHADES
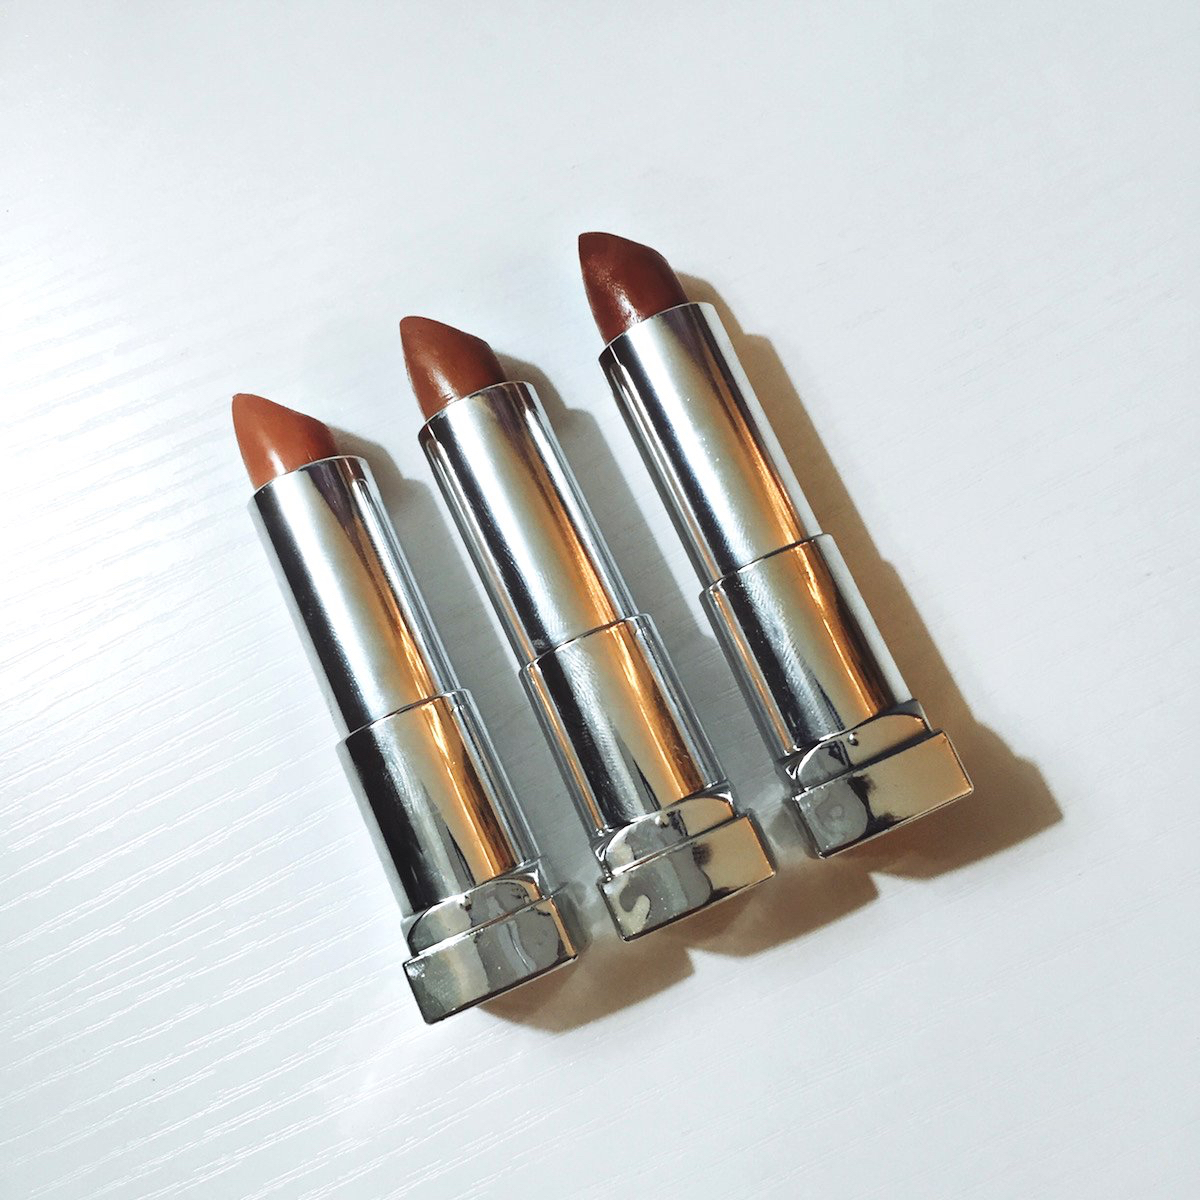
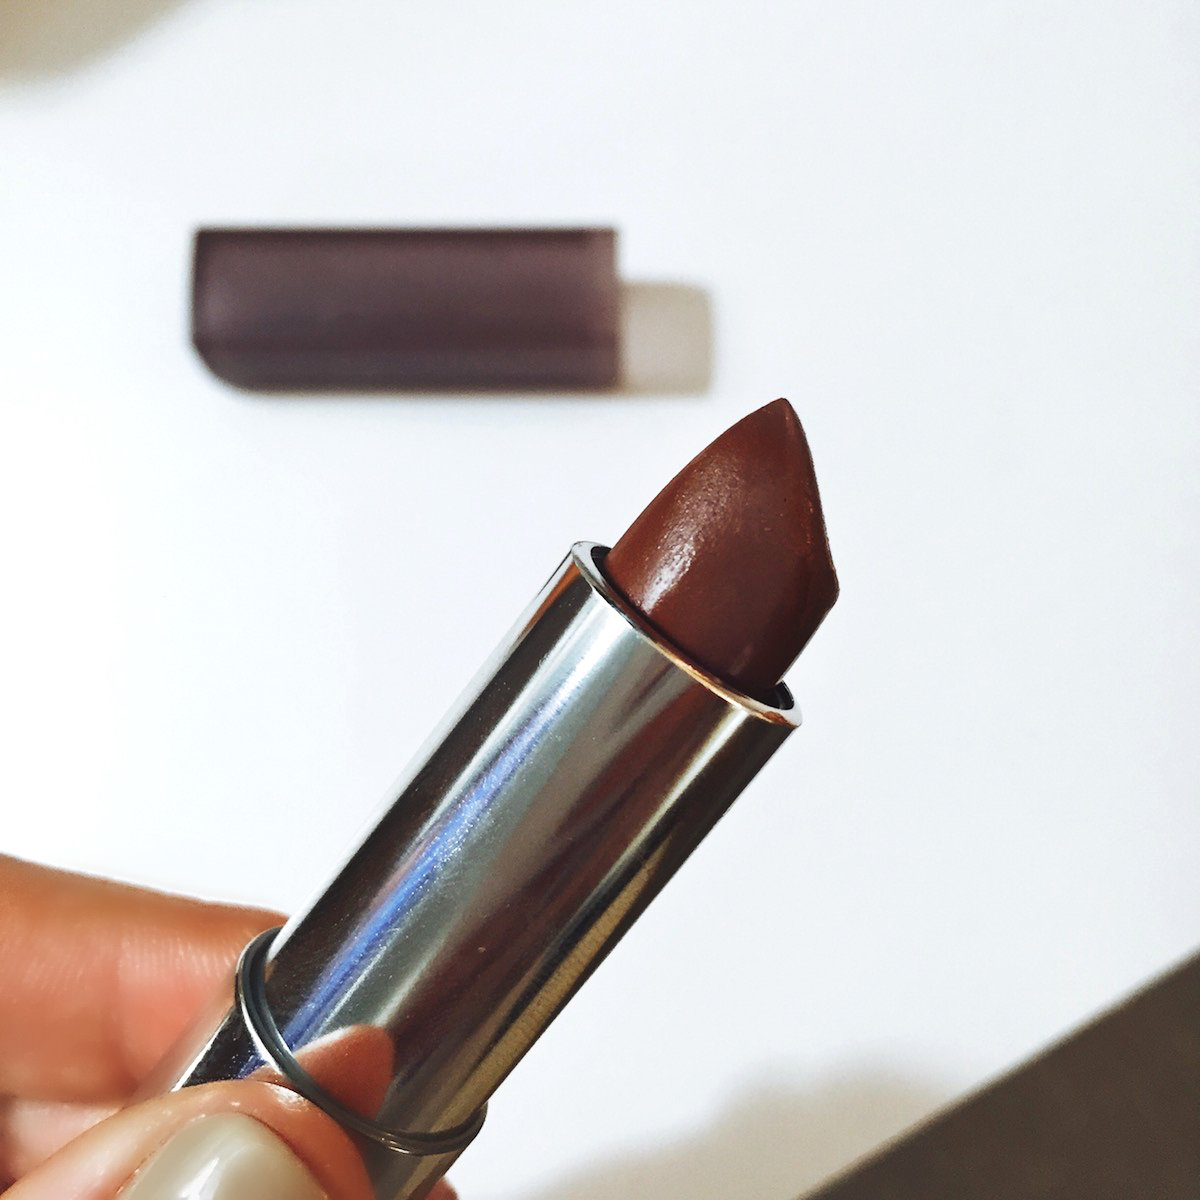
In order for the lip to show the best of all three lip colors you’re applying, it’s important to keep the shades close together in terms of colors themselves. As you can see above, these three are clearly in light-to-dark order but show an easy transition from 1-2-3. However if you were to apply in the order of 1-3-2, the last shade will be lost amongst the application of the darkest color.
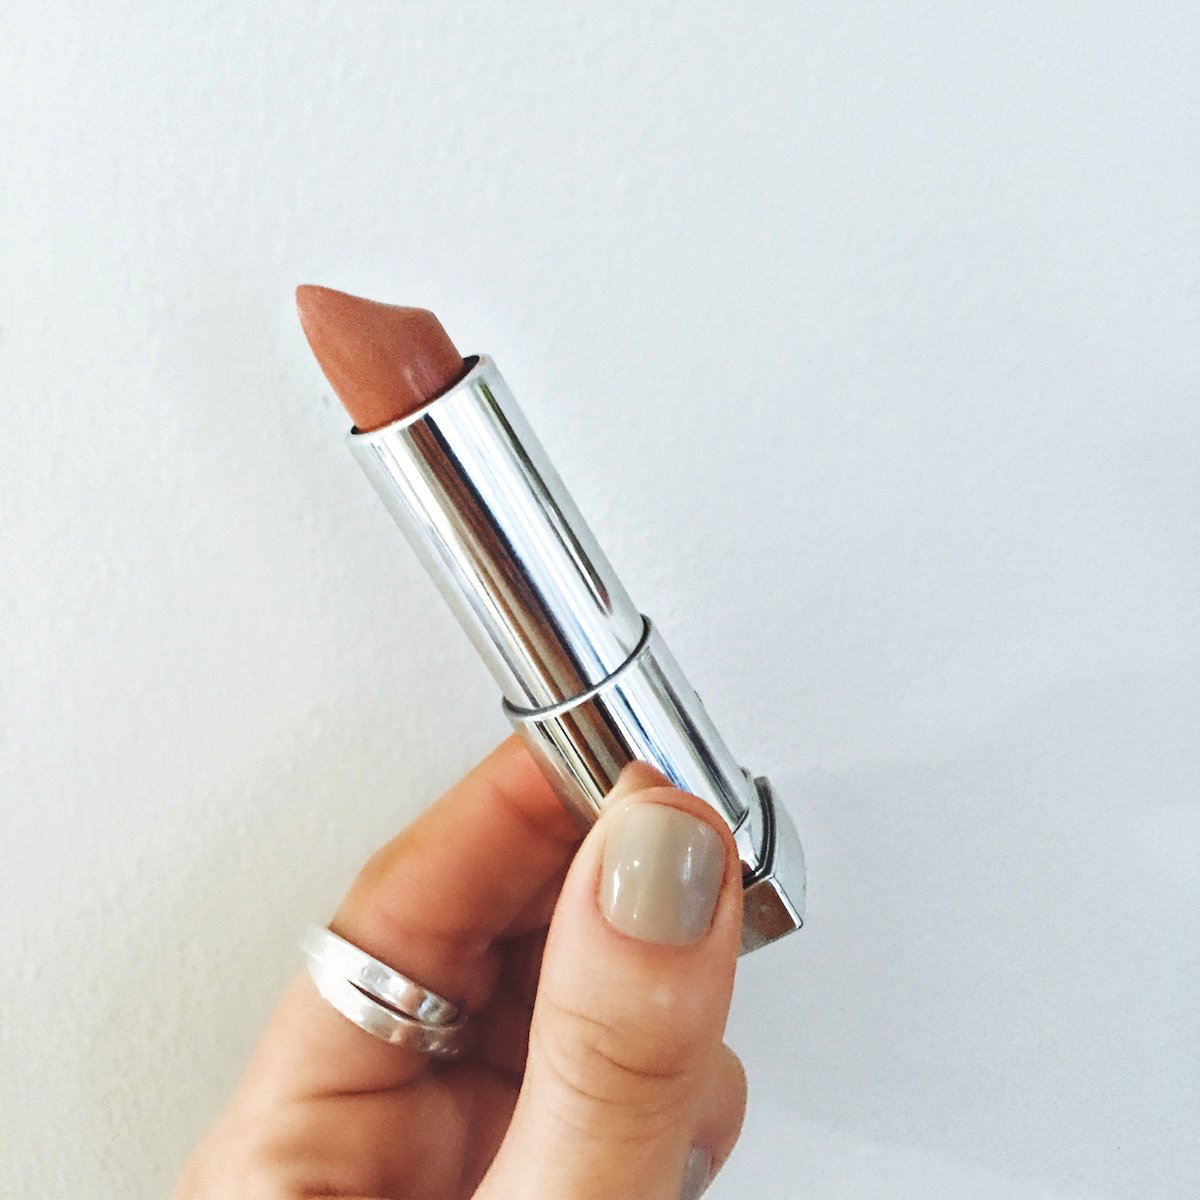
With each lipstick I paint one coat on and wait less than 30 seconds before applying another coat of the same shade on. This allows for the color to dry and become bolder with the second application. Of course, one coat of each is fine as well – it just depends on how deep of a lip you’re trying to get.
The three lipstick colors I use and swear by are the following, all from Maybelline New York “The Buffs” Color Sensational collection and applied in the order listed:
#920 – NUDE LUST
#935 – SIN-A-MON
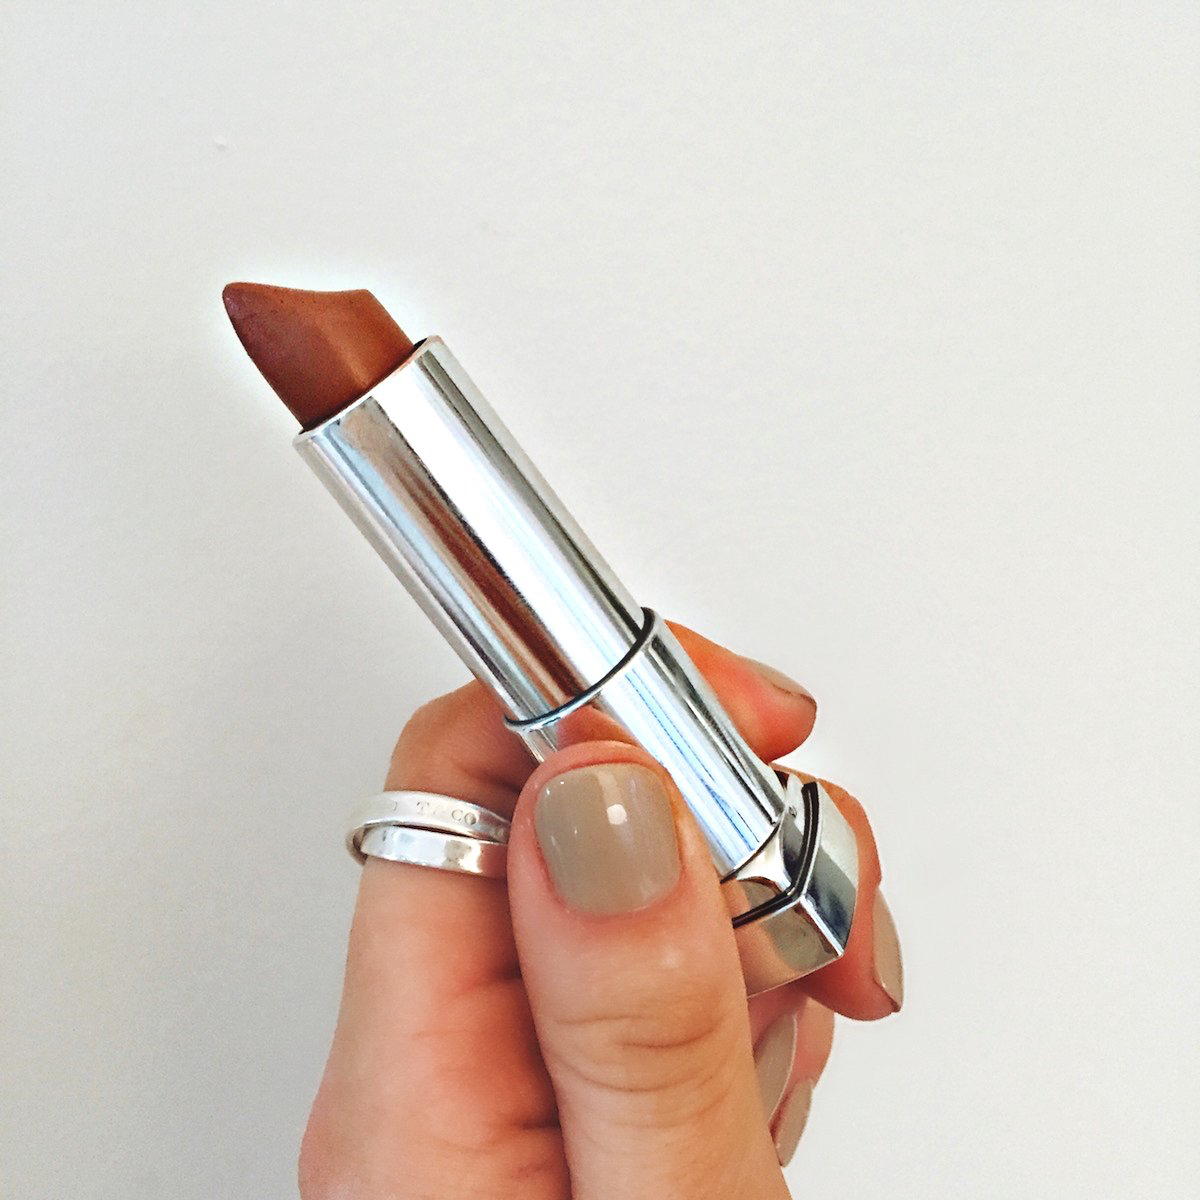
#940 – TOUCHABLE TAUPE
Keep in mind, these three shades may not be for everyone. The best part is that they’re SO MANY nude colors to pick from that you can experiment all you want until you find your perfect combo. Trust me, I’ve caught myself spending a good 20 minutes determining which shade to try or incorporate into my posted routine here. The best part about lipstick is the ease of finding what works for you by simply wiping your lips clean and starting over again, as many times needed.

Hope this non-expertise, trial-and-error lipstick post was somewhat helpful! I’d love to hear what lip color blends you’ve tried yourself, no matter what the shade. Let me know what you’ve fallen in love with in lip color terms through a comment below :]

Great idea for a lip color on the natural side! I like the tip of using the chapstick to prime your lips first and that it helps your lipstick to last longer, so that it rarely needs re-application. I dislike having to think about re-applying my lipstick throughout the work day. I pretty much like to apply it in the morning and forget about it until I get home.