 Nowadays it seems like the mission of every foundation is to give the appearance of flawless skin with exceptional, if not excellent, contouring. An idea that’s terrific in thought but difficult to apply to oneself on a professional level. In other words, I can’t contour for sh*t and it most likely has to do with my 1) lack of skill set and 2) lack of proper tools. Also I don’t have the desire to have my face weighed down with product as a result of over-applying and then scare myself with the amount I end up taking off at the end of the day.
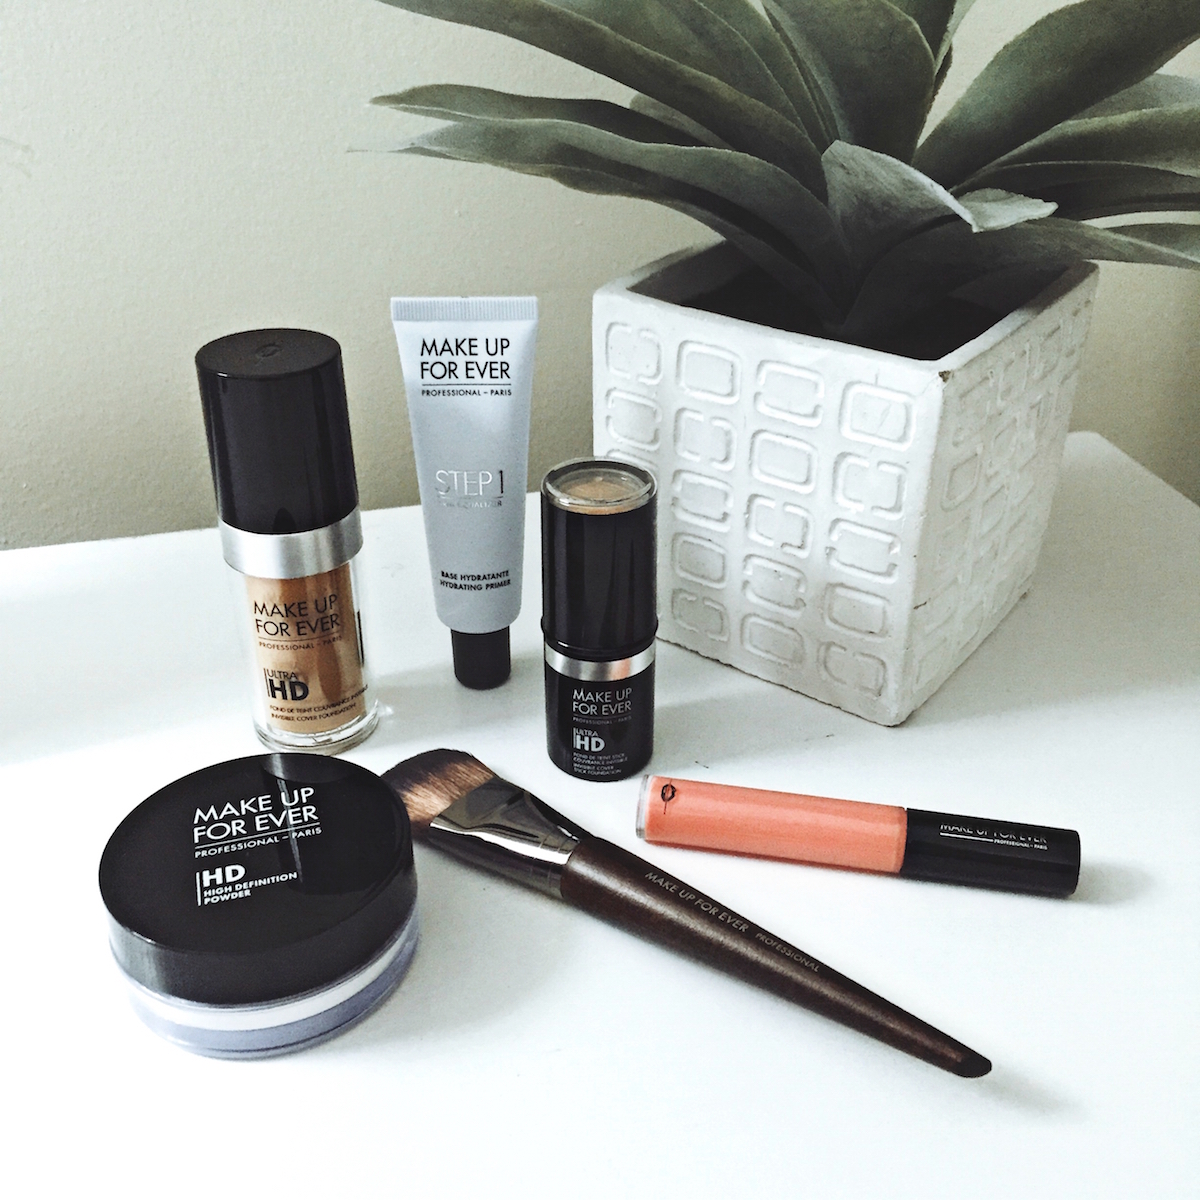
But then I was introduced to Make Up For Ever’s Ultra HD Generation products and my mindset on the infamous contouring technique has shifted from doubtful to do-able. The confidence I received from using these products came from the fact that everything I once challenged in skepticism has been proven otherwise by the use of the products themselves. I’m talking about a product that’s completely invisible under a super-focused 4k lens while giving me the utmost coverage while feeling incredibly lightweight when applying, like a second-skin. With over 40 shades to match all skin tones, Ultra HD is the most effective way to get that flawless complexion you’ve always wanted and change your perception of the process all together.
Here’s how I applied Ultra HD into my daily skincare routine:
1) IT’S PRIME TIME FOR BALANCE
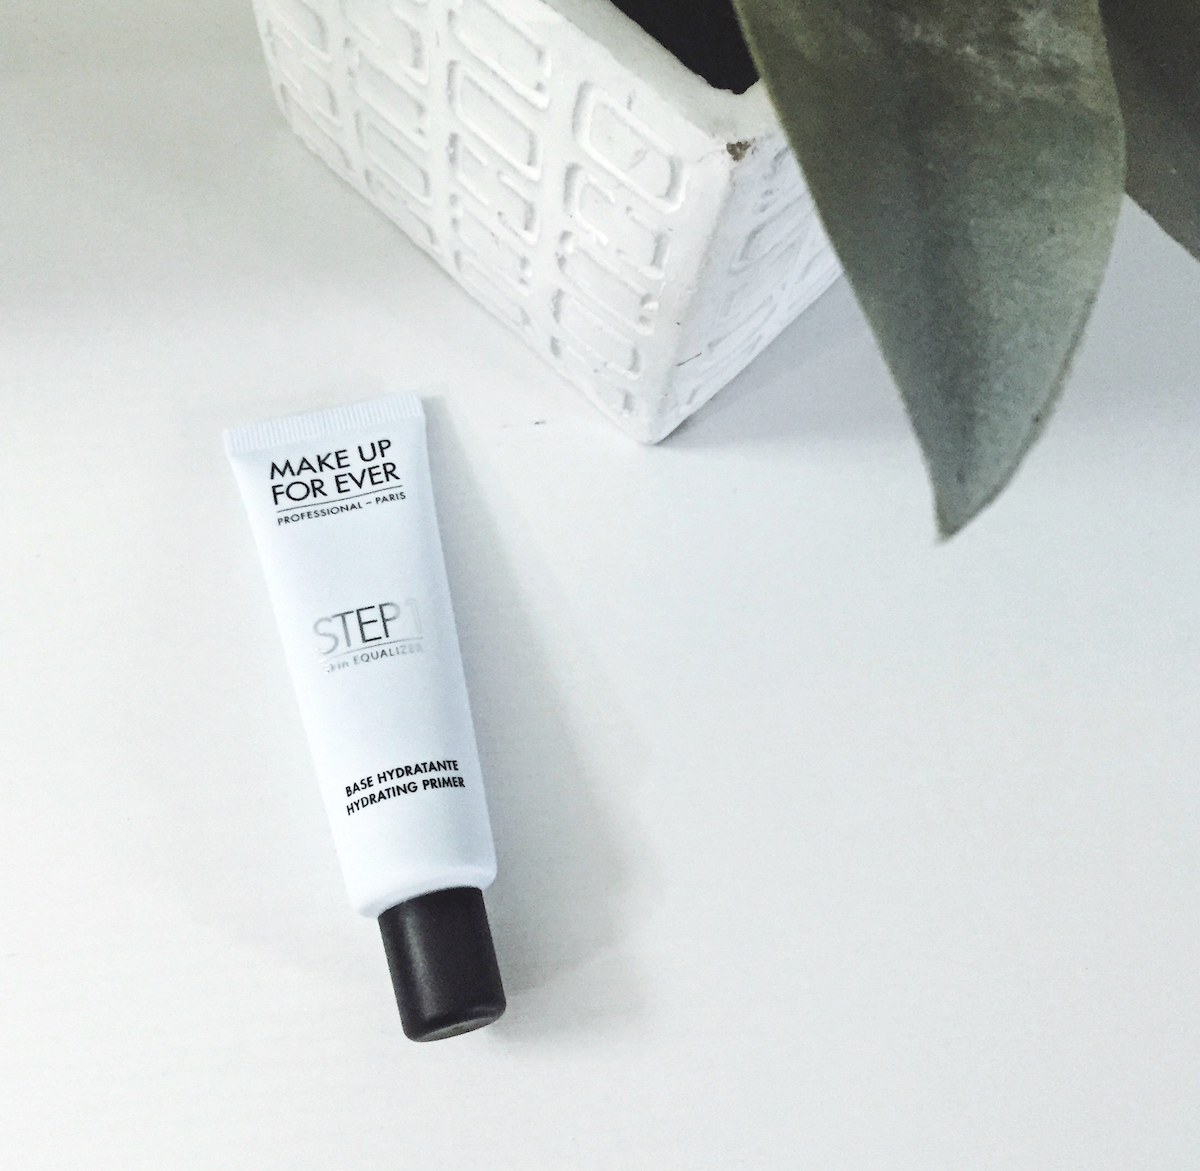 In order to achieve that perfect complexion, you need to start with a fresh even canvas. Cue Step 1 Skin Equalizer – the primer custom to your skin’s tone and needs that smoothes and pro-longs the life of your makeup once applied. With 10 targeted formulas to choose from, you’re guaranteed to get that balance back in your skin’s life that may or may not have been recognized before. Since I constantly struggle with dry skin, I opted for the Base Hydrating Primer formula to set the pace for my Ultra HD products to follow.
2) SET THE FOUNDATION
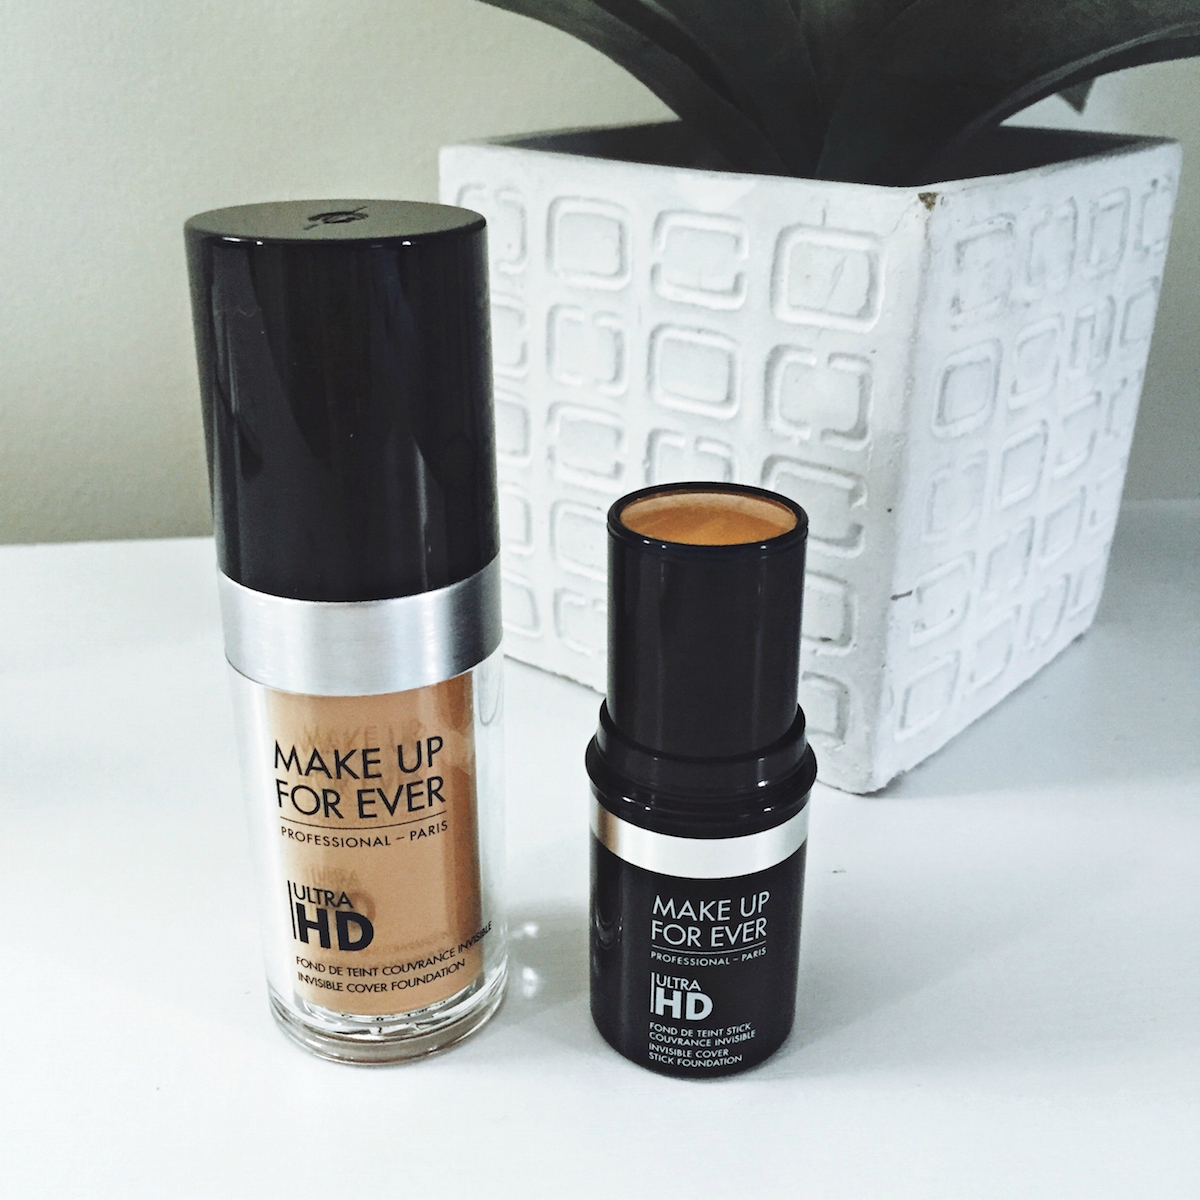 After priming my skin, I apply two pumps of Ultra HD Liquid Foundation in small, thin layers at the center of my face and stretching outward to the east and west coasts of my profile. Don’t use your hands for blending, as the natural oils can manipulate the makeup to not perform to the best of its ability in terms of long-lasting & coverage. Instead use Artisan Brush #108 (as seen below) to blend in the foundation, as well as the marks of contouring done by the Ultra HD Foundation Stick.
You can use the Ultra HD Stick for both foundation and/or contouring. If used for foundation purposes, apply the stick in a swipe-like motion to the forehead, center of nose, chin and cheekbones. Blend in a circular motion with the Artisan Brush. When contouring, pick a shade that’s 2-3 times darker than your natural skintone and swipe along the contours of your cheeks, top of your forehead, sides of your nose and under your jawline. Diffuse/blend with the Artisan Brush to enhance your bone structure and soften the edges.
3) THE FINISHING HD TOUCH
 Complete your flawless complexion routine with Ultra HD Powder to set your makeup into motion for the day ahead. This isn’t a necessary step to follow but if you lead an active lifestyle and find yourself carrying your makeup around for touch ups, this finishing powder might be something beneficial for your on-the-go self.
It’s such a relief to know that the makeup I put on my face in the morning looks the same by mid-afternoon, and my bag feels lighter from lack of product! I say that’s a win-win all in itself.
* To Be Bright is partnered with Make Up For Ever for the authorized promotional use of gifted products. All opinions are my own.

I haven’t tried any MUFE products but have read reviews about their makeup for oily skin being exceptional and I plan to try it ASAP. I would need a different primer than yours but from their chooses I feel confident they have one to meet my needs. Thanks for this post. It reinforced my decision to get their products.