HELLO (AGAIN) PLANT FRIENDS!
WELCOME TO PART TWO OF A TWO-PART POST ABOUT PLANT PROPAGATION.
—
It took me two years to publish this Part Two guide to expanding your plant family – things have been, well, busy to say the least! I left off Part One with the note of wishing me luck with my newly-potted propagations, as it was my very first time taking cuttings as well. Since publishing my first go at it, I’ve successfully propagated 20+ cuttings from my own collection of houseplants & given many of them away as gifts in the last two years. It’s been such a rewarding experience, seeing these offspring cuttings turn into stable adult plants in a matter of months. The best part: it’s SO MUCH EASIER than one would think!
If you need a refresh on Part One, then be sure to give it a read before continuing with Part Two, as it includes important information regarding the first steps of rooting in water (the method in which I chose to propagate my plants.) There are other methods of propagation to consider, depending on available resources & the type of plant you wish to “make more of.” For the sake of keeping things simple and consistent here, I’ll be sharing my personal experience of taking stem cuttings from my indoor garden plant species; specifically Pothos varieties. But I might as well mention the different types of cuttings designated for popular houseplants you may already own, since I brought it up vaguely already.

TYPES OF CUTTINGS
—
STEM CUTTINGS
These are known as shoots with several attached leaves & considered the easiest form of propagation, as most houseplants allow for such a method due to its vine composition (aka its woodiness.) I bet you didn’t know certain plants are considered herbaceous, softwood, semi-hardwood, or hardwood – you can notice its classification based on how it grows (like a thin vined Goldfish plant vs tall-standing hardy Rubber Tree or ZZ Plant.) The Herbaceous types are the easiest to root & the hardwood types take a bit longer to produce shoots. I won’t go into crazy detail about which common houseplant is considered xyz because it ultimately all comes down to the cut itself when taking a cutting to propagate.
…
There are 3 types of hardwood stem cuttings, which are chosen based on the plant’s ability to root most successfully:
Straight Stem Cutting: The most common type, cutting the desired stem at an angle 3/4 down from the node
Mallet Stem Cutting: An entire section of an older stem is included with the new one, used often for climbing-types such as the Monstera
Heel Stem Cutting: Small section of old stem included at base of new cutting, best used for older plants you’re propagating from
LEAF CUTTINGS
Unlike stem cuttings that include several leaves on a shoot, these are taken from the mother houseplant and rooted directly from the leaf itself via Petiole or Blade. Leaf-Petiole Cuttings consist of a leaf & its stalk (petiole) and are taken as easily as plucking a flower from the ground. Leaf-Blade Cuttings is most used for succulent propagations, where the mother plant has thick & fleshy leaves. Snake plants are propagated as Leaf Section Cuttings, as the roots for the new cutting develop directly from the pieces of the sliced stem taken from the mother.
More info about Leaf Cutting Propagation here
ROOT CUTTINGS
Just as it sounds, this is a method of propagation where new shoots develop from a section of a cut root from the mother plant itself. It’s a specific, specialized way to go about propagating & it isn’t for everyone to attempt based on the tedious nature of growing from a root alone. Additionally, not all plants can be successfully propagated this way except for select outdoor plants like roses & lilacs.
More info about Root Cutting Propagation here
…
Most likely, you’ll be using the Stem & Leaf Cutting Techniques most often when propagating from your indoor plant collection. What I do when I’m not certain on the method to go about gathering cuttings, especially if it’s from a plant I haven’t propagated from before, I literally Google the botanical/common name of the plant with the phrase “stem cutting method” for guidance. This is how I learned taking a cutting from a Ficus Rubber Tree is slightly different from snipping a Pothos vine, despite both plant species being places in the Stem Cutting category. More on that later in this post.

HOW TO PROPAGATE
—
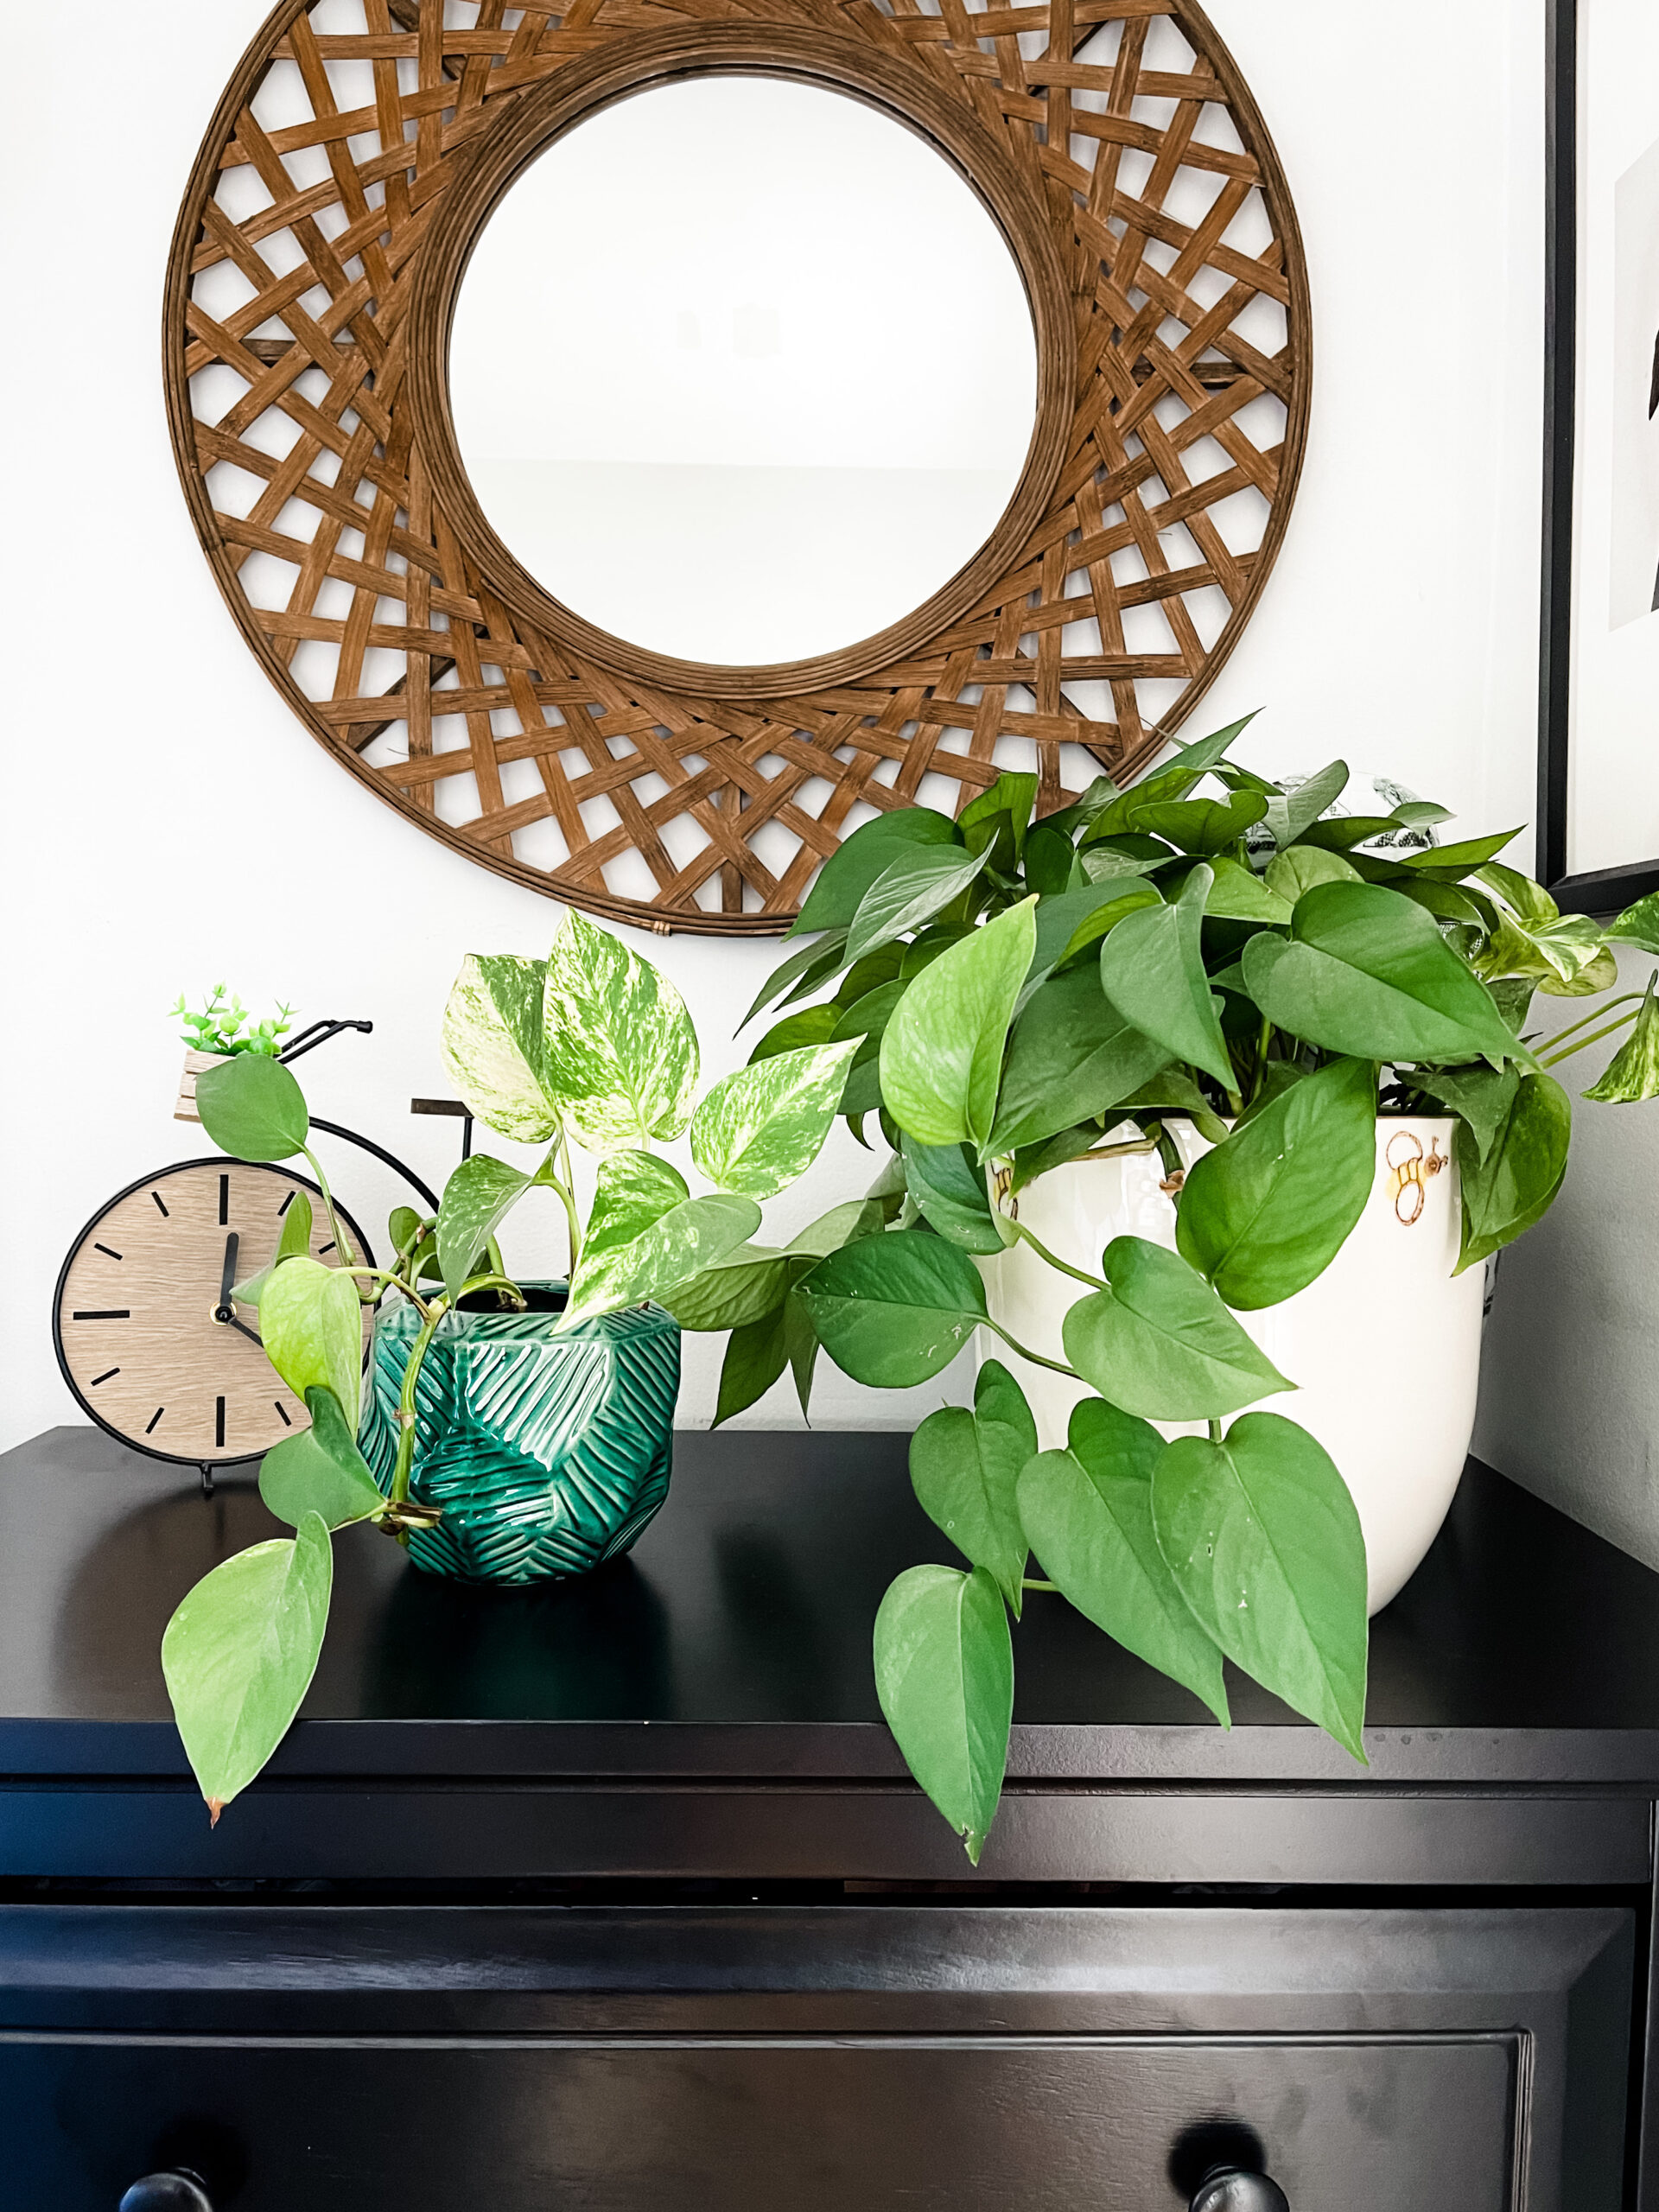
POTHOS VARIETY
Probably the easiest, most rewarding plant variety to begin your propagation journey with. Roots usually form within 1-2 weeks and the cuttings themselves are ready to be planted in soil by one month! Pothos grow quickly & productively, so you’re likely to get a handful of offspring plants from just a handful of cuttings at any given time of propagation.
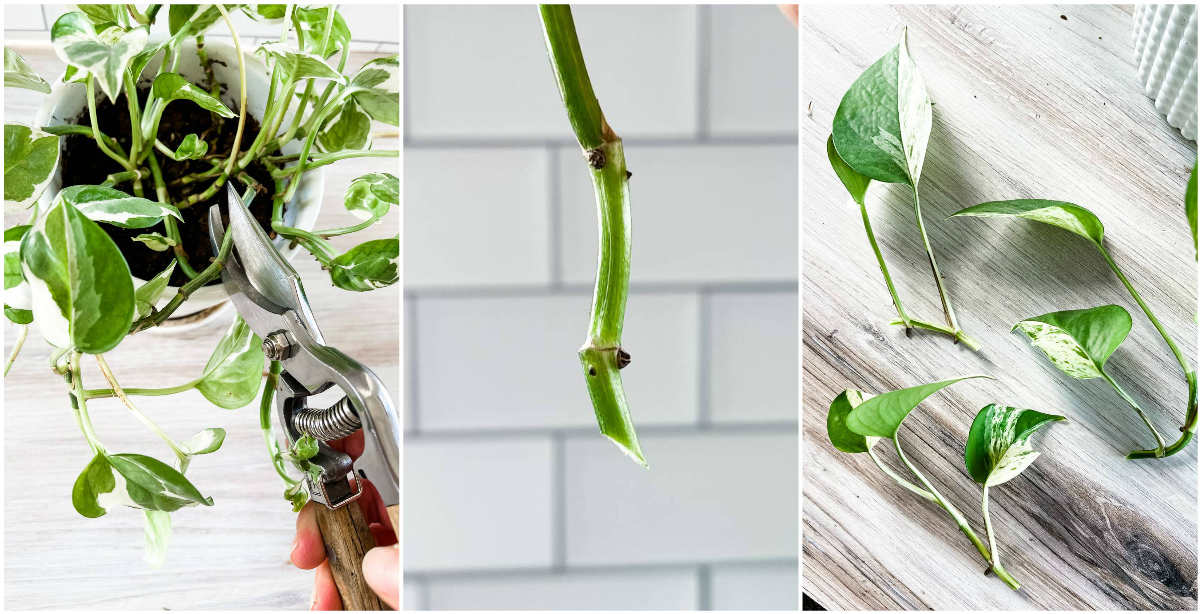
To take your Pothos cutting, snip halfway down the stem at an angle & below the node (what looks like a hard, brown wart.) The node is where the roots will be shooting from once submerged in water, so it’s important to try to take lengthier cuttings if possible. If you can’t take it without leaving distance between the node and point of snip, be sure to monitor its water level once in its vessel – keeping the node submerged at all times.


HOW TO PROPAGATE
—
ZZ PLANT VARIETY
The only difference with taking this type of cutting (shown above) is the angle & location in which the stem is snipped. Unlike Pothos, ZZ Plant cuttings are taken straight across (not at an angle) and right at the base of the stem (not in the middle of the vine) – right above the bulbous part protruding from the topsoil.
This plant also takes a bit longer to root compared to Pothos, almost a month in water before they begin to appear in full throttle. Wait until roots are 4-6″ long before planting in soil.
HOW TO PROPAGATE
—
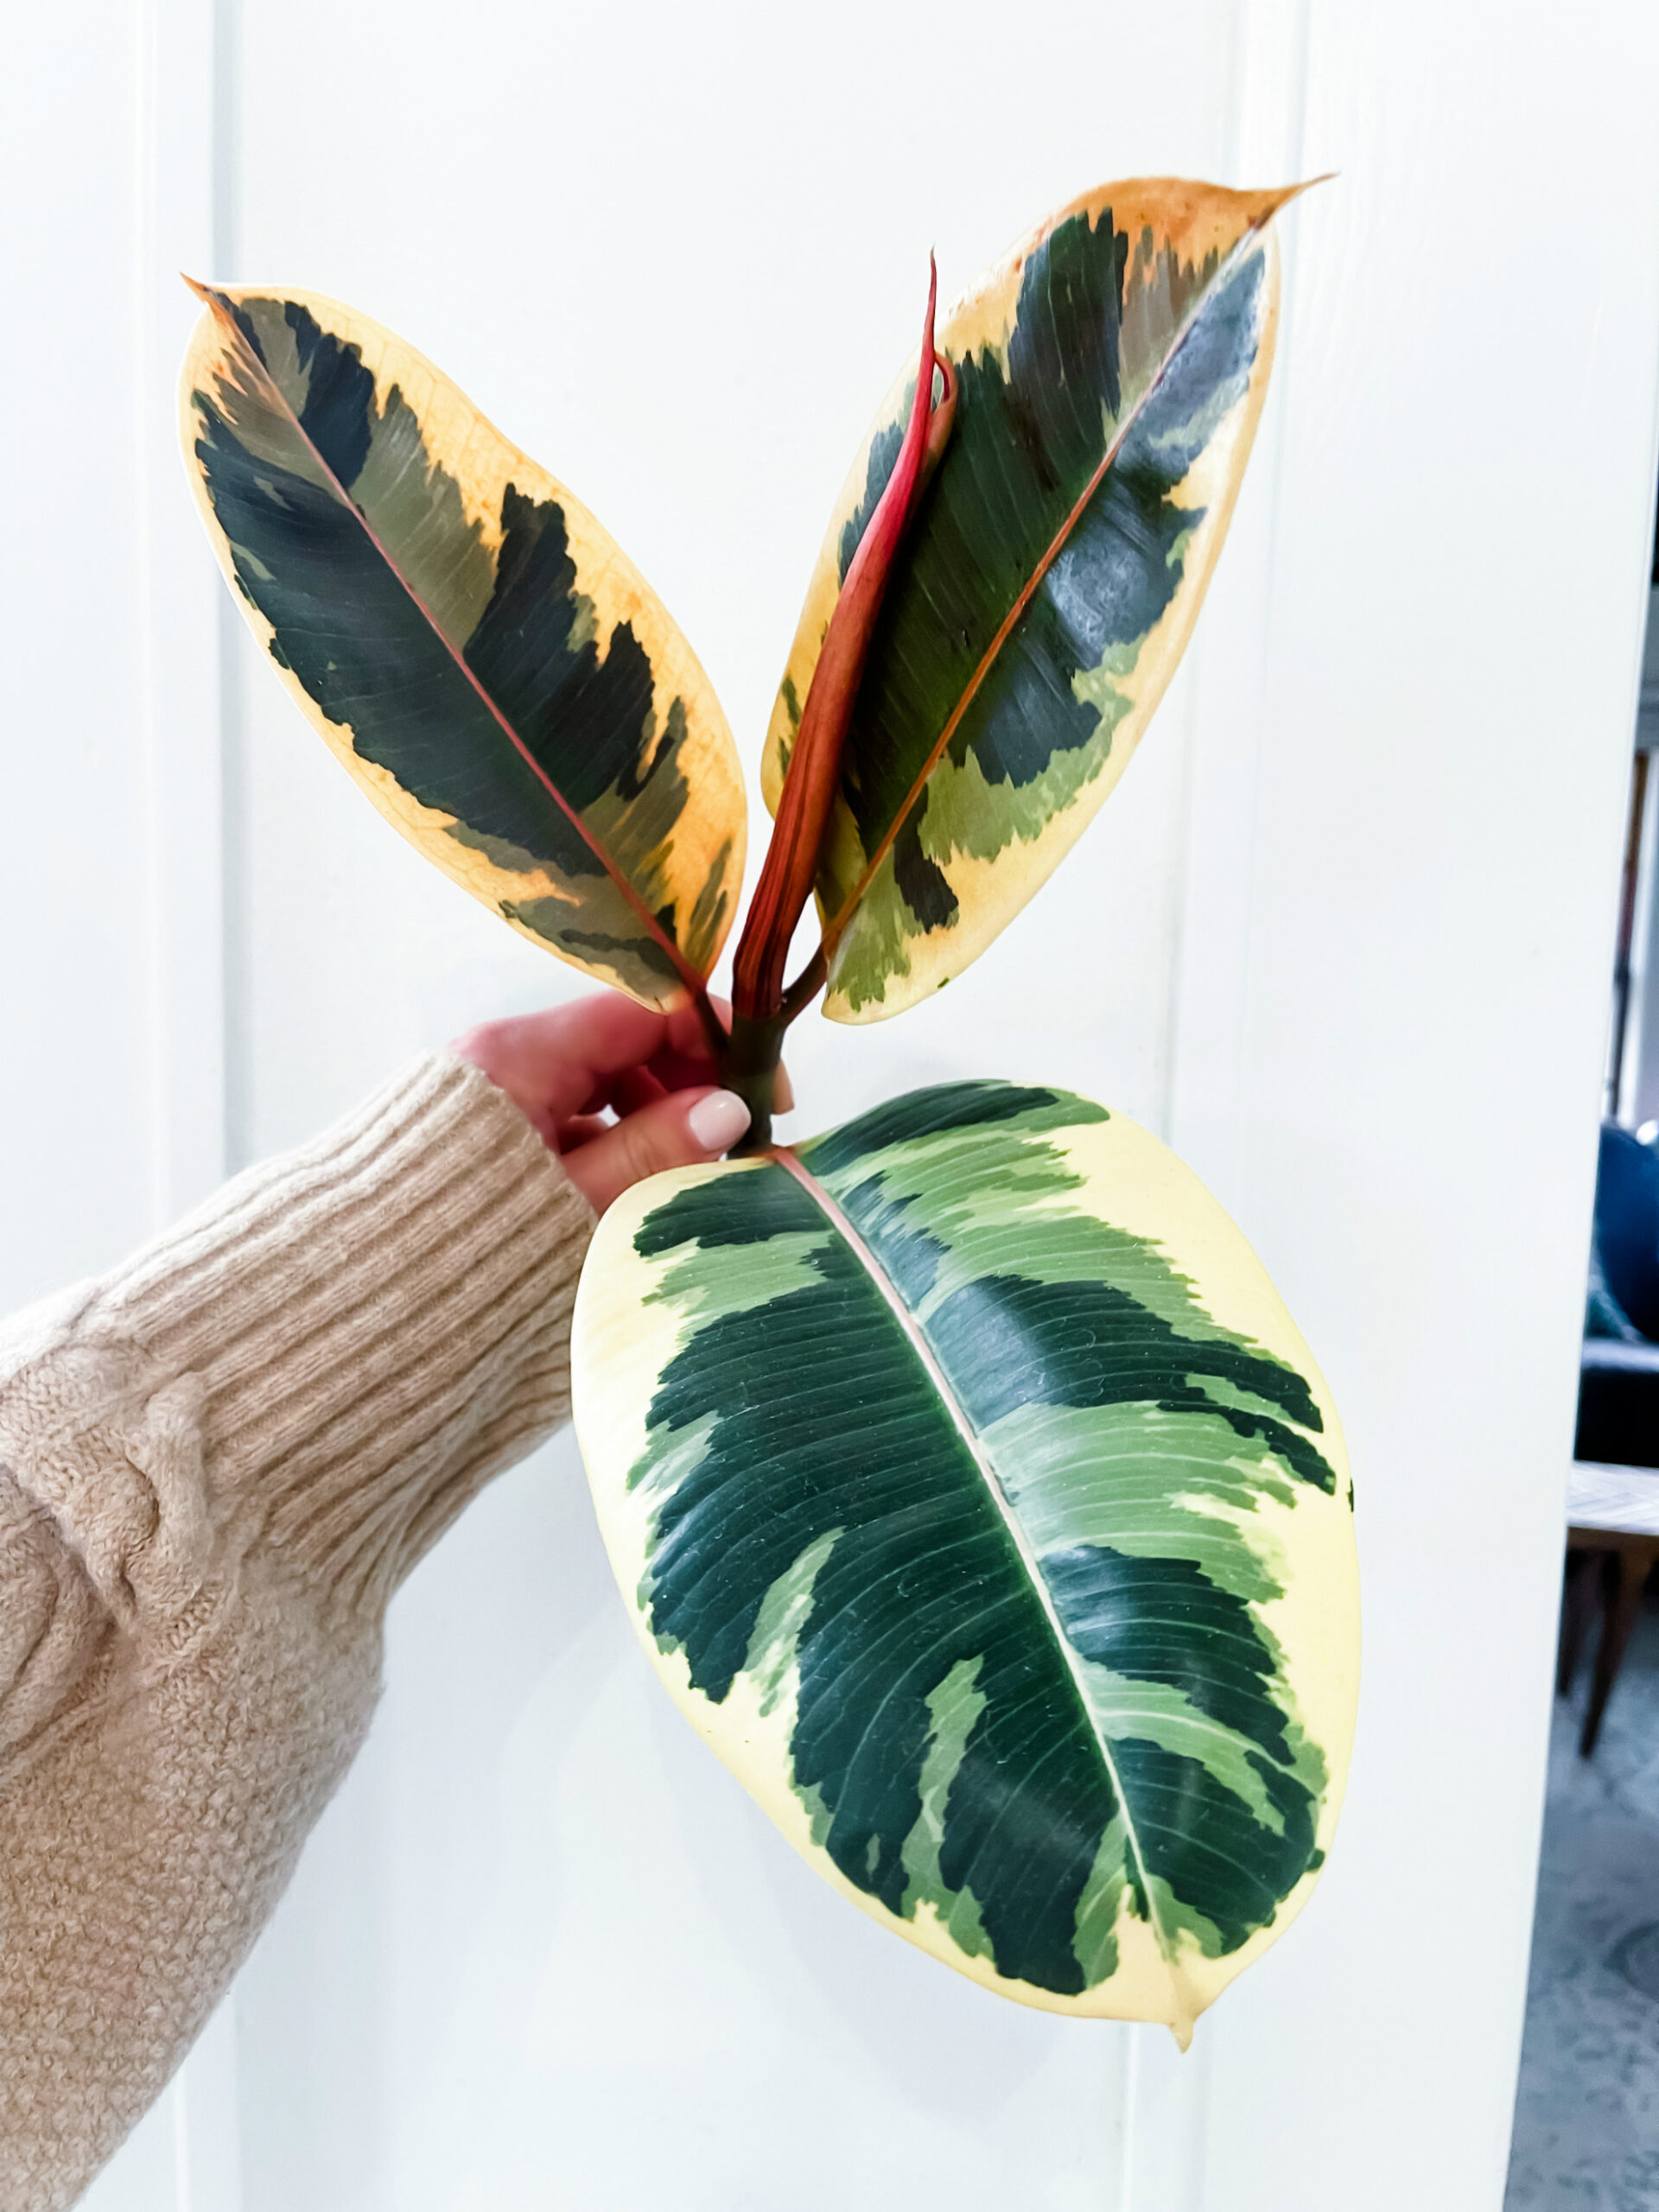
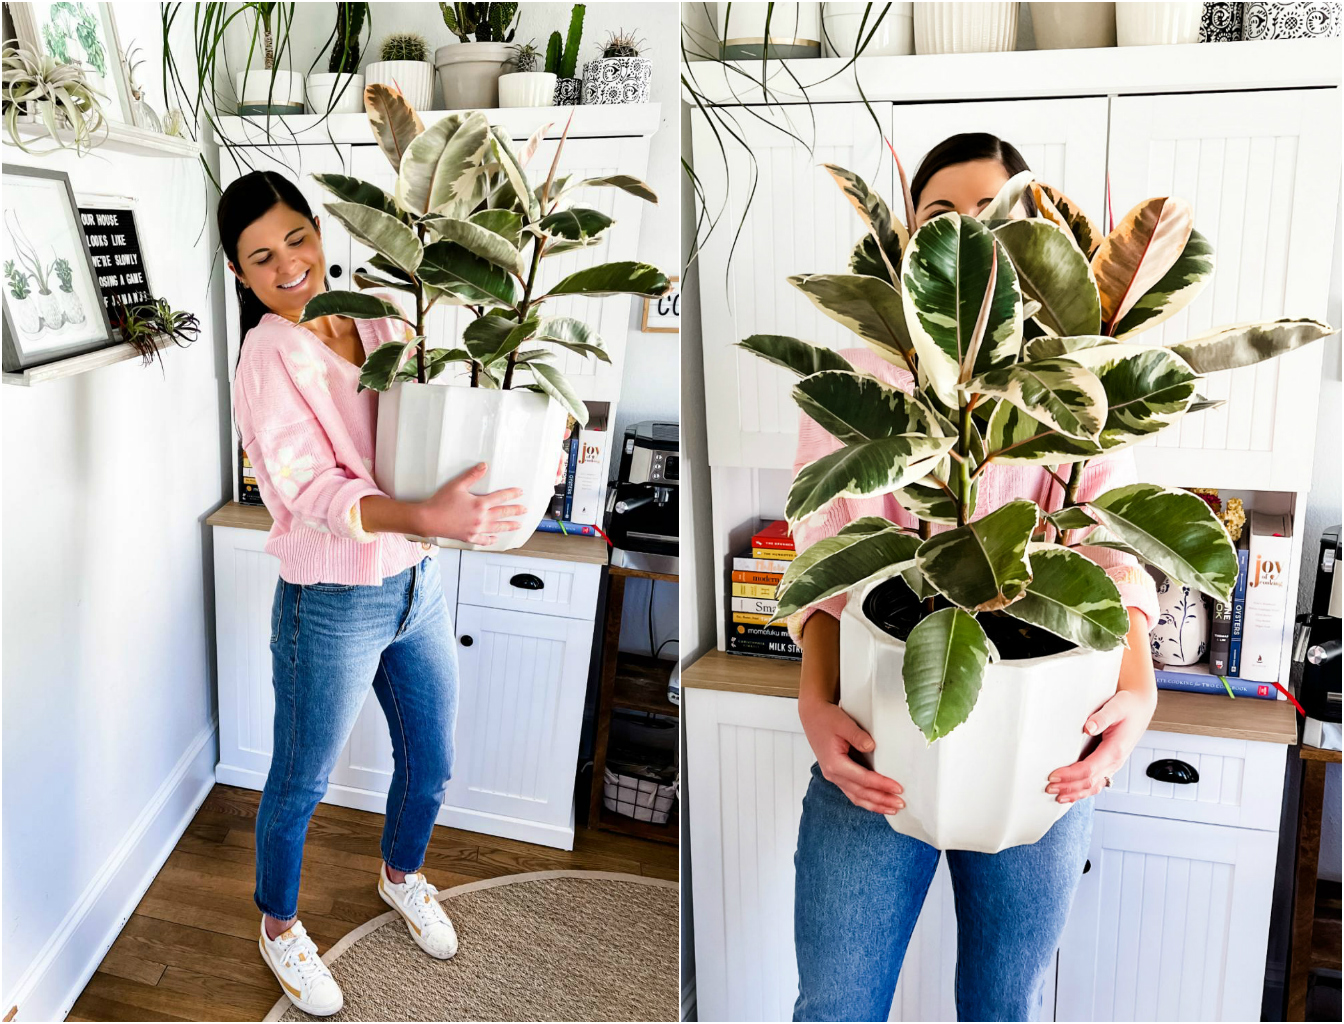
RUBBER TREE VARIETY
Above is a variety of Rubber Tree called “Ficus Tineke.” This is one of my most exciting propagation projects, as this type of plant was not commonly found in the garden center nurseries local to me until this year. And coming across this mega beauty boasting not one but THREE stems of substantial size – well that truly meant this was meant to be my “trial run” in this cloning adventure.
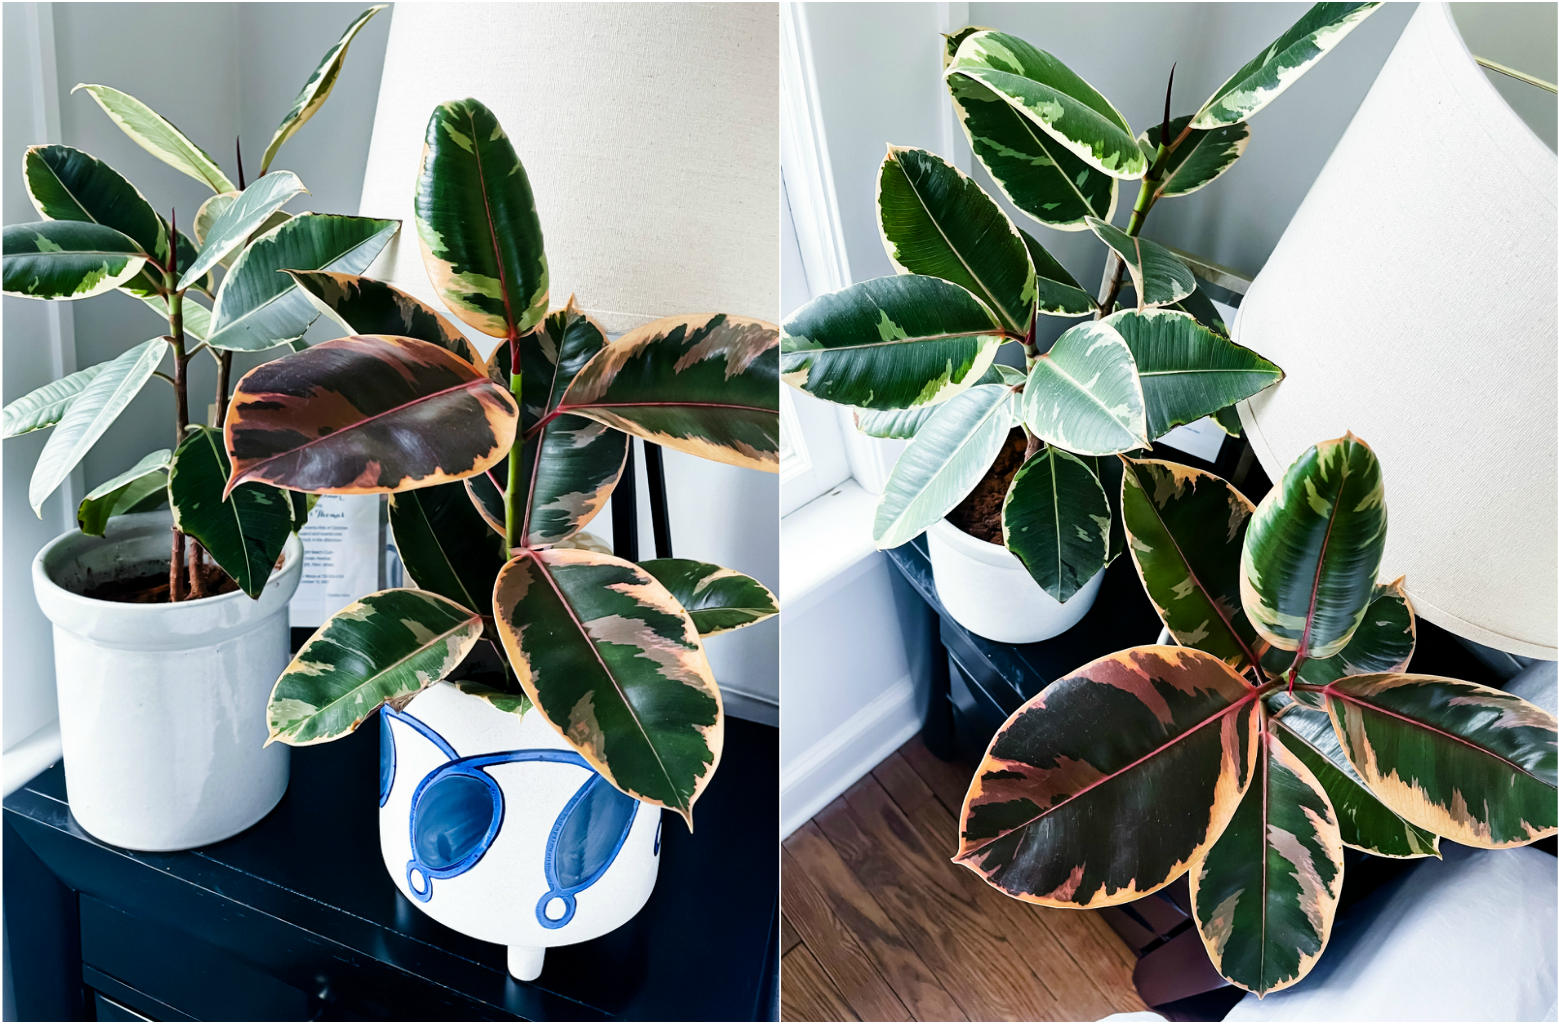
Below are two more Ficus Rubber Trees I own, but are much younger/smaller due to their size & lack of substantial stem availability. I figured they were better to remain as they are, with hopes I can grow them as large as my project someday if I’m successful with propagating! As you can see from the colors of the leaves, the one to the left is the same variety as the larger one above – Ficus Tineke – where the right one with shades of pink/red is known as – Ficus Elastica Ruby – and like it’s relative, I’ve rarely seen it available in my local nursery garden center. Another rare, variegated beauty here!

Unlike Pothos & ZZ Plants, taking a cutting from a Rubber Tree Variety is a whole different process – but it’s not difficult whatsoever! The nodes look more like subtle indented bands around the stem of the plant. Instead of cutting at an angle half way or from the bottom, you snip straight across the plant stem from the top after measuring it to be 6″ long with at least 4 nodes (bands) from the top. This will help ensure your cutting has a stronger chance to root in water – which takes a bit of time, compared to the others I’ve outlined timelines from water to soil for.

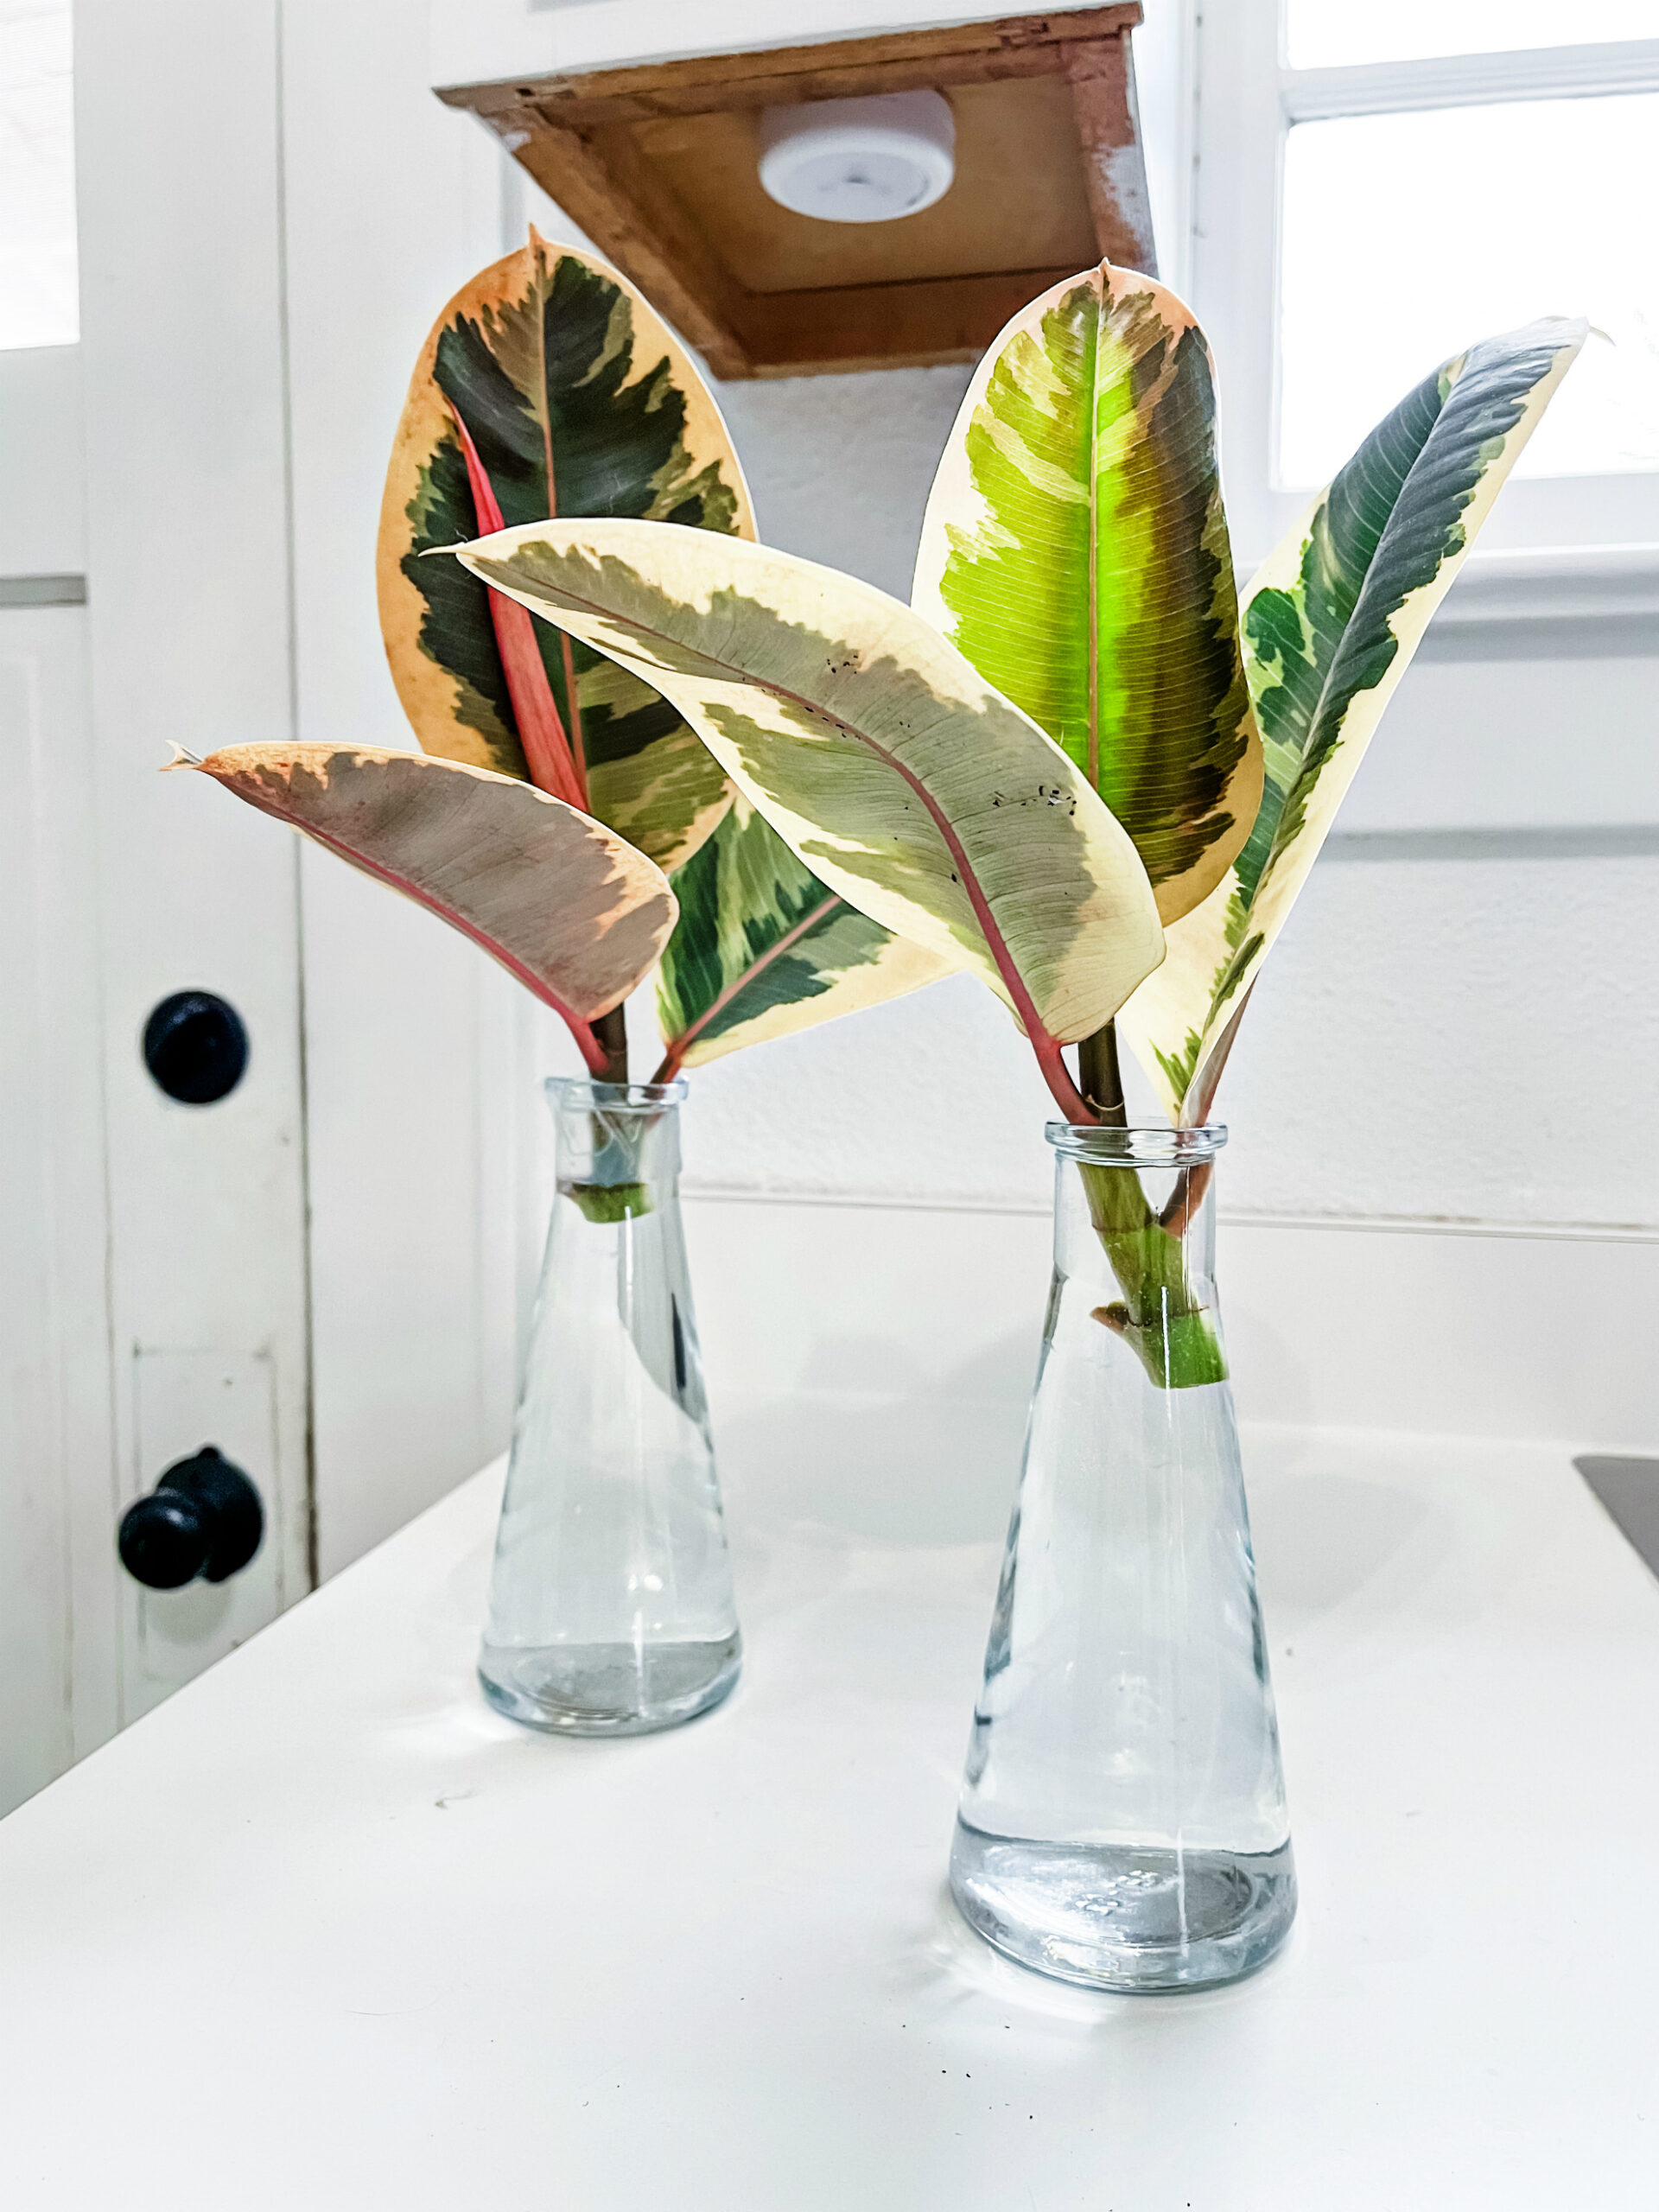
When you snip a stem or leaf from a Rubber Tree Variety, a milky-sap like substance will leak from the plant, at an impressive rate to my surprise. This is totally normal & nothing to be alarmed by BUT this sap is toxic to both pets and humans if ingested (not poisonous, but toxic enough to make one unwell.) So be sure to wipe up the access with a paper towel at all the snipped points and wash your hands/keep the pets away until the areas are self-recovered. I found getting a Q-Tip and dipping it into cinnamon and placing over the sap areas to help it coagulate quicker – as well as helps the plant protect its vulnerable parts from infection! More on that below towards the end of the post.
I’m not sure how well these will propagate, but I’m excited to see what comes of these starter cuttings! I’ll be sure to update with their progress here as often as I can!


WHAT HAPPENS AFTER YOU TAKE A CUTTING?
—
As you can see from the above images of the Parent Satin Pothos Plant, the lighter/almost white stem indicates the new growth that was triggered after the cutting was taken. By propagating, you’re encouraging the plant to focus its energy on growing upwards & equally dispersing its efforts towards its remaining vines. So whenever you see an extra long vine, be sure to snip it back & propagate so it can go back to growing its shorter ones.

BEST PRACTICES
—
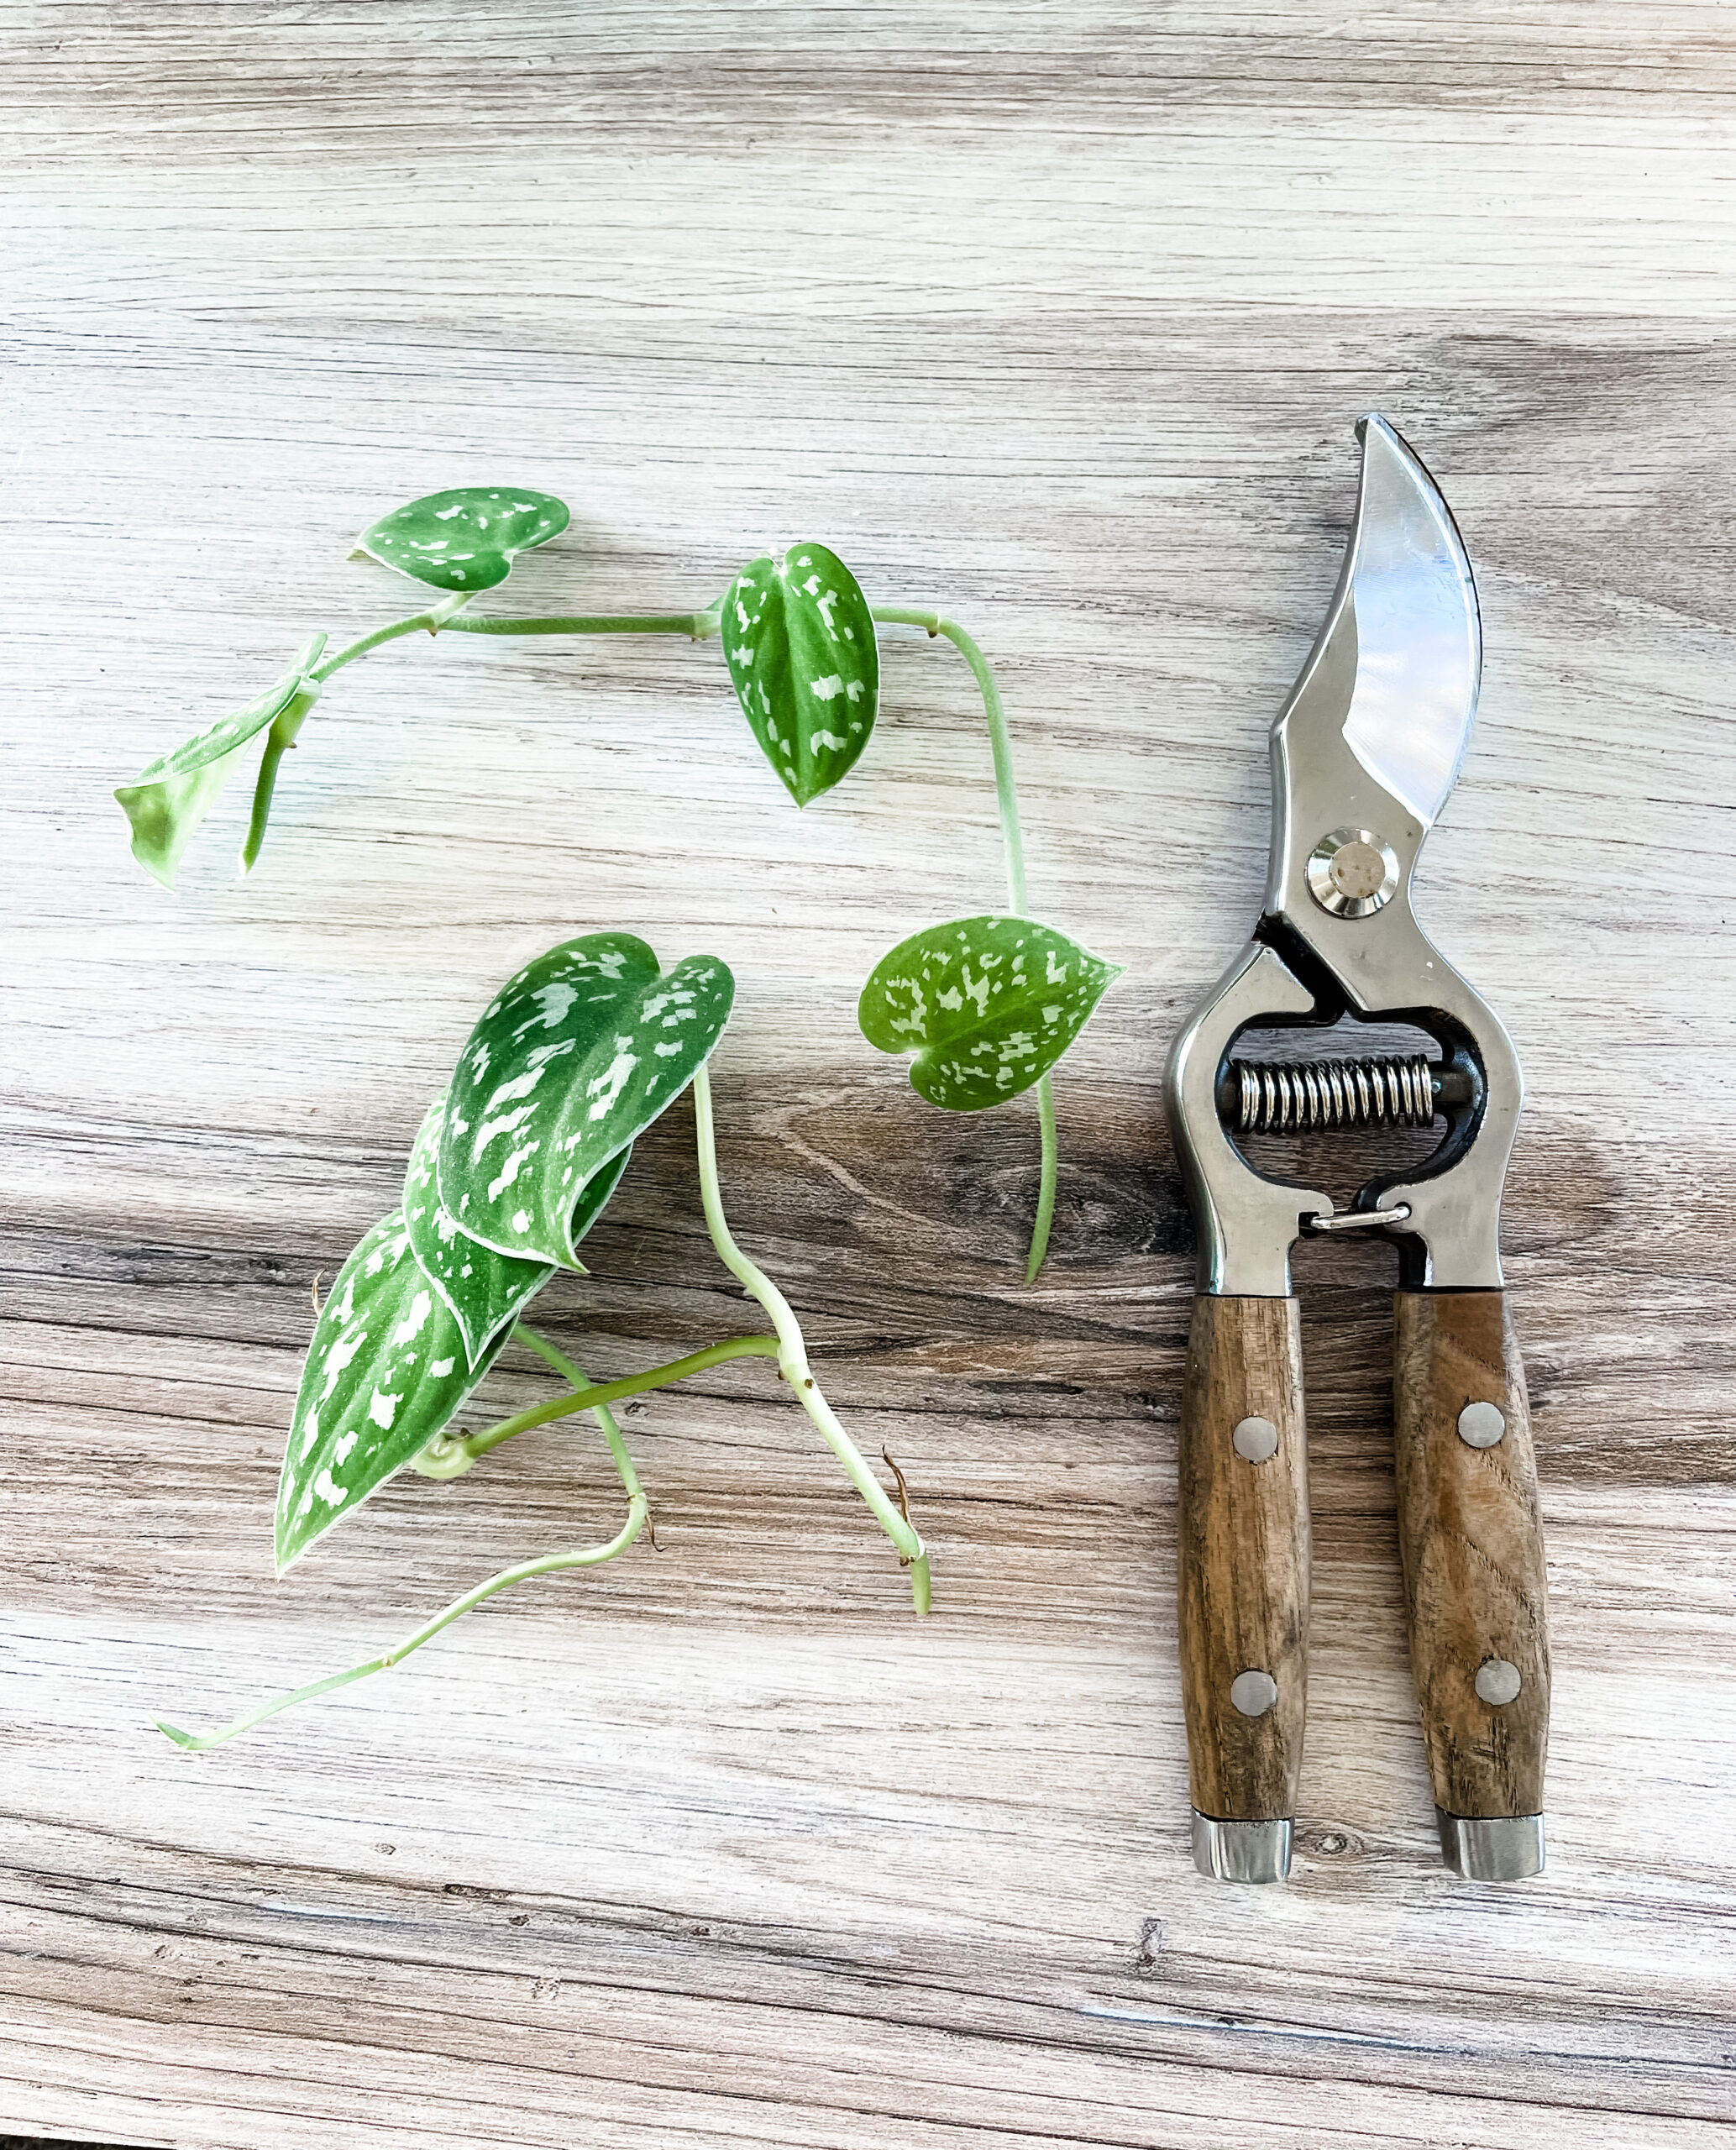
USE SHARP SHEARS/SCISSORS & CLEAN AFTER EACH USE
The sharper the blade, the better the cut, the more likely chance of a successful rooting experience. I like having one standard size shear for larger stems & a smaller, needle-nose pair for the hard-to-get cuttings. Be sure to clean the blade with dish soap after each use & dry completely after to avoid rusting. Diseases can be spread from plant to plant easily via dirty shears, even if it looked healthy when propagating.

AIM FOR LONG & HEALTHY STEMS
It’s better to cut farther down from the node, keeping it long as possible & trimming if suitable. Shorter cuttings often have trouble staying under the water (at least the node) as it naturally evaporates from the vessel, so be sure to refill with water more often than 1x a week if you’re dealing with shorties. It’s also important to take each cutting from a healthy parent plant, for best chances of rooting & survival upon potting in soil. Check for yellowing, spots on leaves, signs of damage from pests before deciding whether or not to take a cutting.
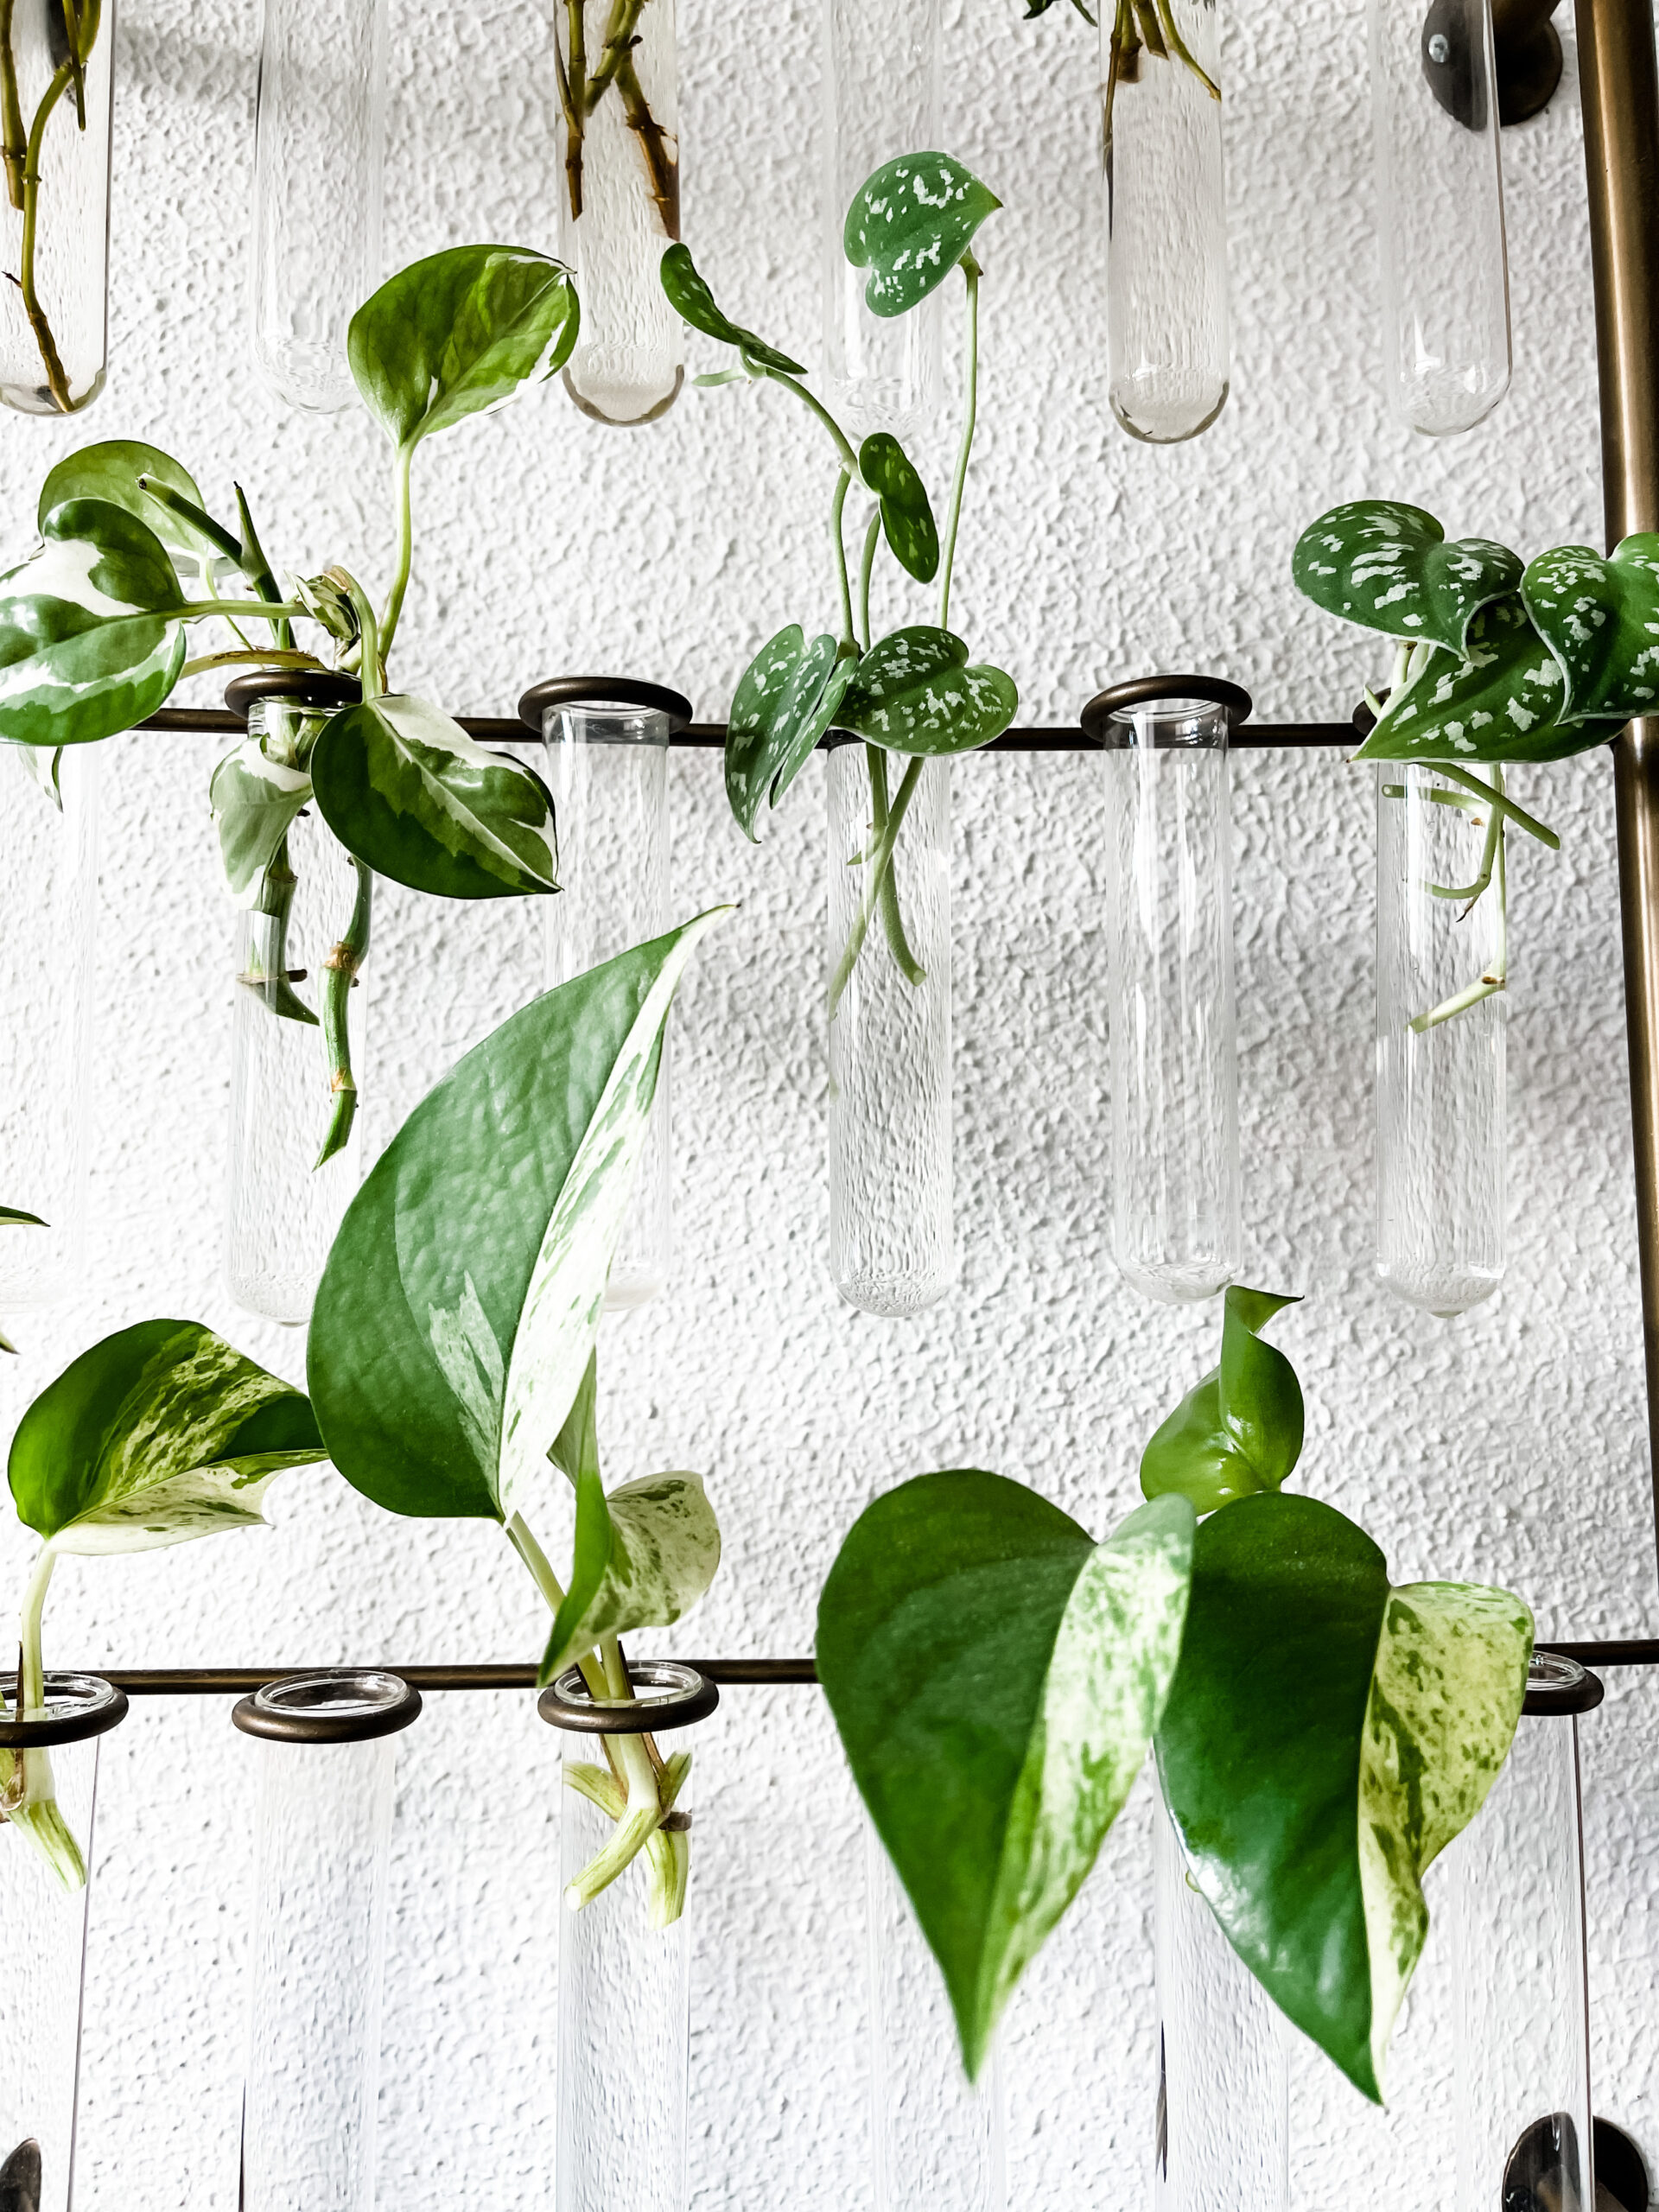
PROPAGATE IN NARROW, GLASS VESSELS
Test tubes, beakers or any sort of long vessel with a narrow lip is ideal for optimum root development & maintenance (as in knowing when to refill due to visible water level.) Glass also allows for light to pass through so you can keep tabs on root growth & water cleanliness when it comes to algae. Be sure to rinse and refill with fresh lukewarm water weekly or as needed.
…
If you’re looking for handcrafted, unique propagation stations — here’s what I found on Etsy:


CONSIDER USE OF ROOTING HORMONE ONCE SNIPPED
Not necessary, but a rooting hormone can help give your new cutting a boost just like a supplement would. Dip the exposed stem side before placing in water or soil (depending on how you intend to root your cutting.)
TRANSITION TO SOIL WHEN ROOTS ARE 4-6″
Best to get your plant into soil the moment it has viable roots established. The longer you keep your cutting in water, the harder time it’ll have acclimating to soil once potted. You want to place your cuttings in a pot that’s 2x larger than the diameter of the roots if bundled together like a ball, if that makes sense. Pretty much, pot them someplace where they can grow and thrive for a while – not outgrow in a matter of months.
CONSIDER USE OF CINNAMON ONCE IN SOIL
Cinnamon is a natural fungicide you can sprinkle into your plants soil, whether its newly potted or been around for a while, to help combat pests & other fungal diseases houseplants are susceptible to. With Spring practically here, the pests will soon be arriving along with the change of season. Best to apply cinnamon to all your existing potted plants just as a precaution, but especially those newer propagated babies just placed in soil.

I do not have a green thumb but I do love plants and flowers. Your pictures are beautiful and I am loving all of these clear vessels.
http://www.chezmireillefashiontravelmom.com
Wow, I love your plants! I could never keep my plants alive 🙁 Thank you for the information given. I think I am going to try buying a plant again and try your method!